OTHER SALON KITS


Checklist
Nail Mani Pamper Session
Doin your nail at home must be a relaxed and enjoyable experience, so make sure to:
Checklist
Nail Mani Pamper Session
Doing your nail at home must be a relaxed and enjoyable experience,
so make sure to:

Nail Manicure Tutorial
We’re so excited to be part of your journey to nail perfection!
Your first few manicures might not be flawless, and that’s totally okay. Setting the right expectations helps you enjoy the process even more:
1st manicure (1–2 hours):
This will take the longest, and the results might not look exactly how you imagined. Don’t worry, you're just getting started!
2nd manicure (1–1.5 hours):
You’ll already be much quicker, and your nails will look noticeably better.
3rd time (45 min-1 hour):
You’ll be able to do it while Netflixing, and your results will be nail artist worthy!
Here’s the secret to success: follow our instructions!
90% of customers who rushed struggled, those who took their time nailed it.
Before you get started, take a moment to watch the videos. They’ll ensure you’re fully prepared and ready to create something amazing. We can’t wait to see the results—you’ve got this!
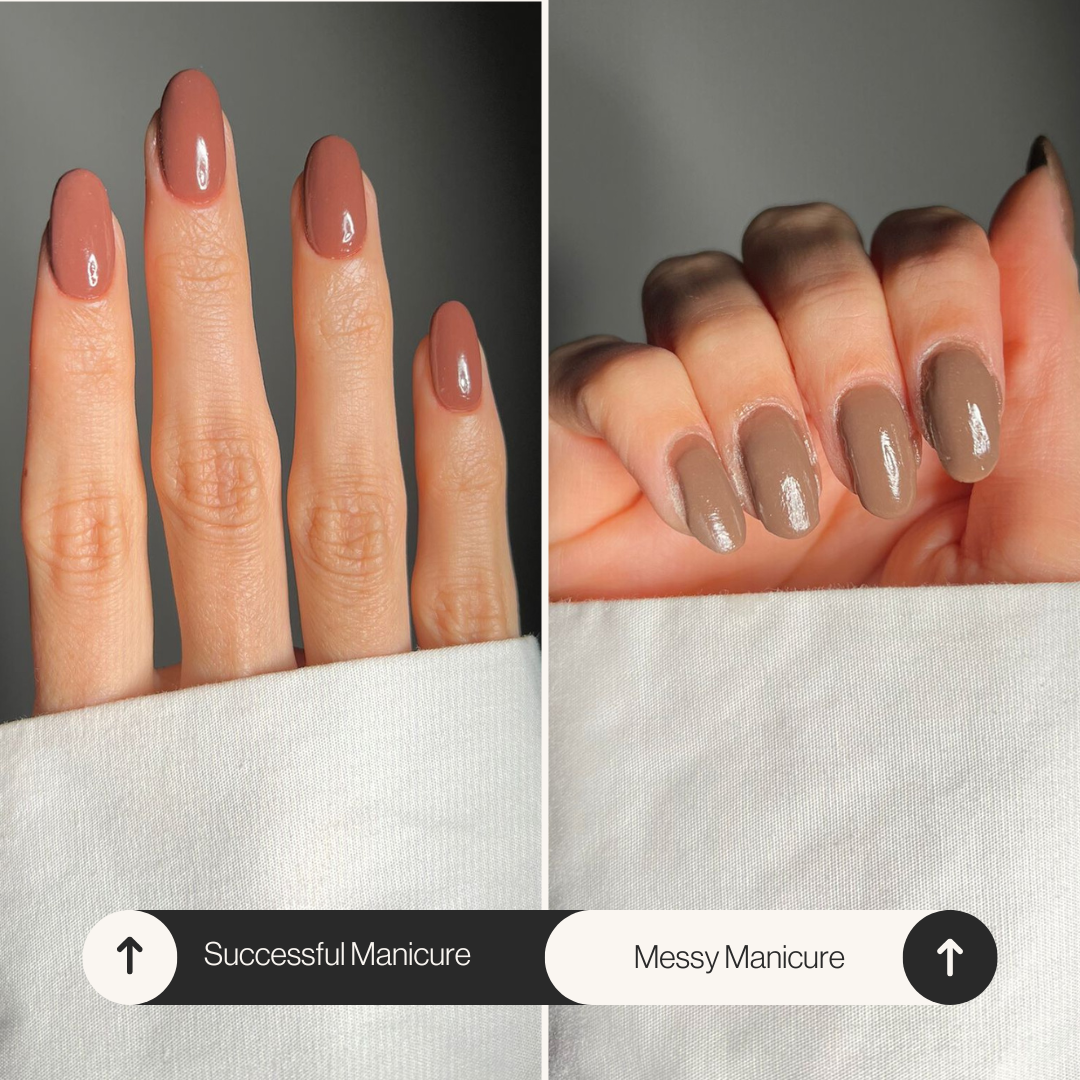
Did not follow instructions correctly!
Temperature & Light
Enviroment
Box/Bottle Position
Storage
Store in a cool dry place
Keep away from sunlight
Store bottles/box upright to avoid any spillages
Application
Good lighting
Protective cover on surface table
Tidy excess dust away as you go
Close bottles in between application
How To Use
1
Step - NAIL PREP
IMPORTANT INFORMATION
Don't wash your hands 60 minutes before the application. - moisture can affect the quality and overall lasting results of your manicure.
Make sure your hands are completely moisturiser & oil free. - Oils act as a barrier between the natural nail plate and product and will cause early lifting.
!
Products Needed
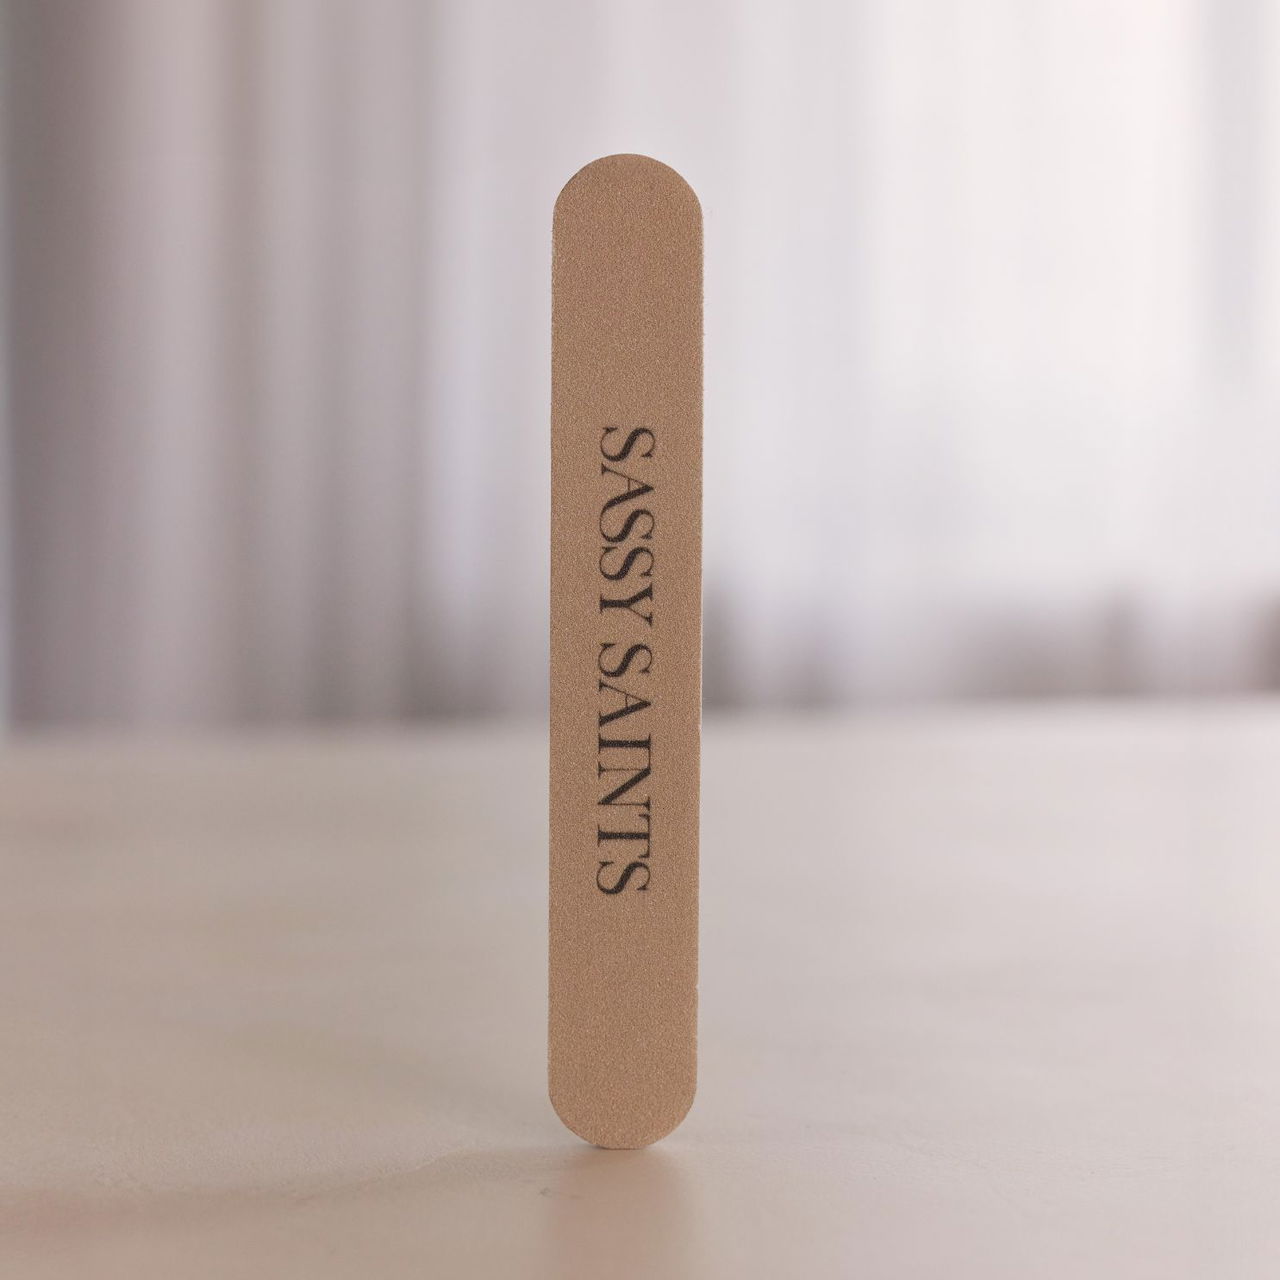
Nail File
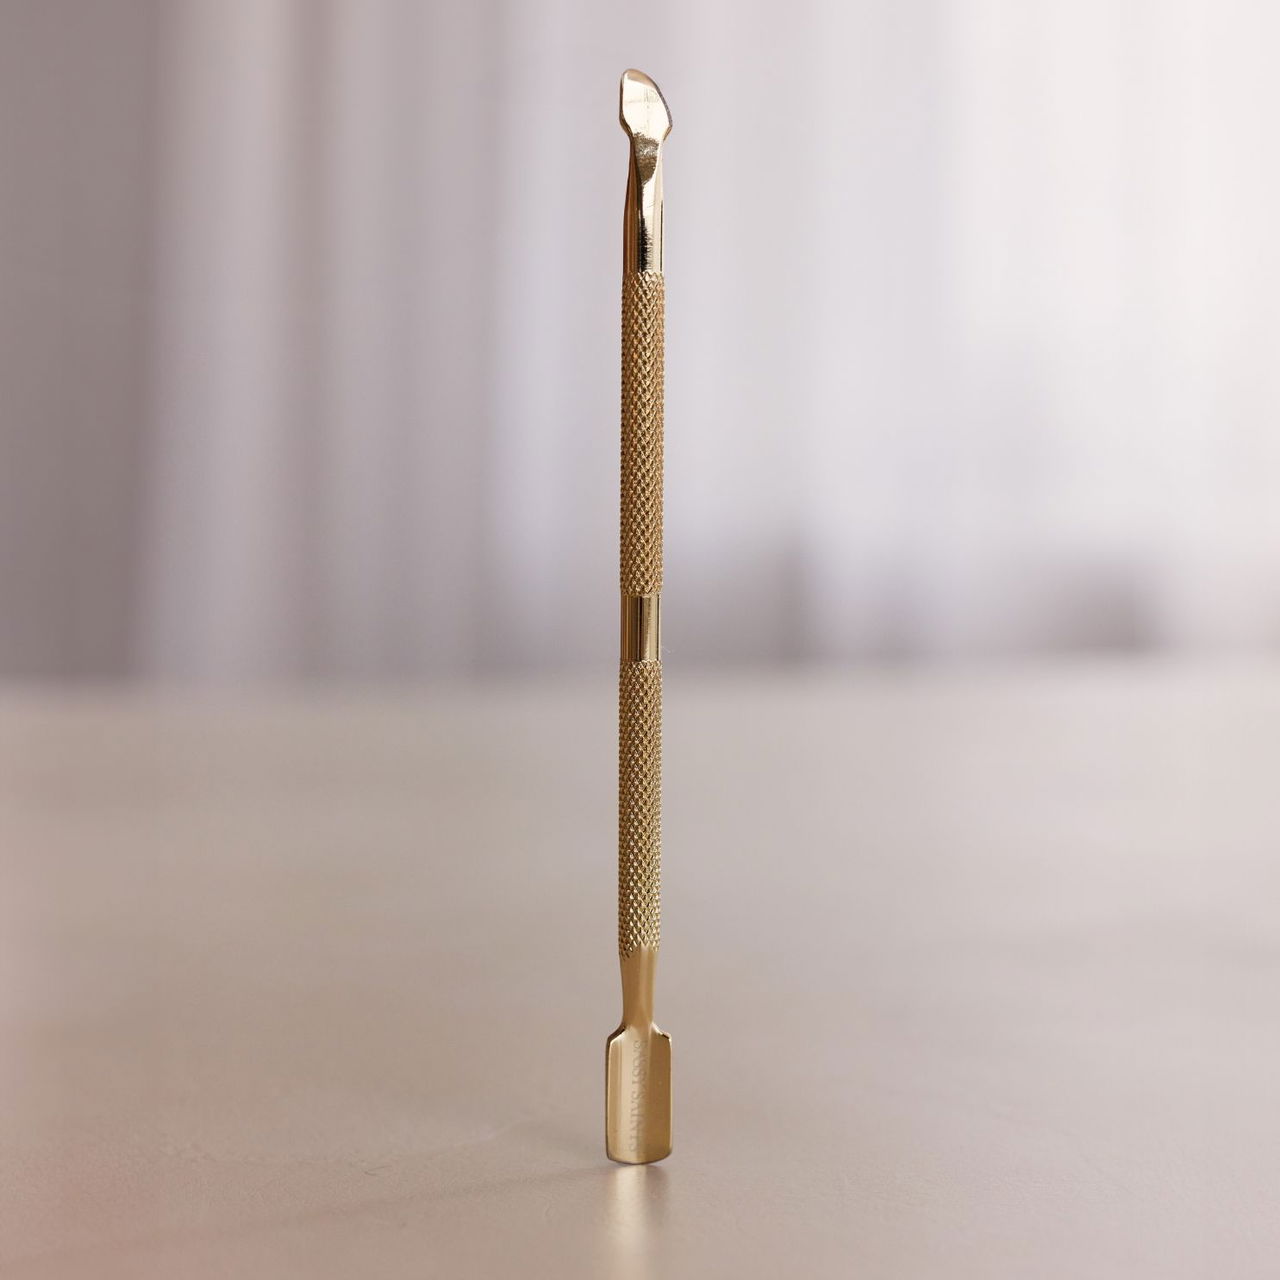
Cuticle Pusher
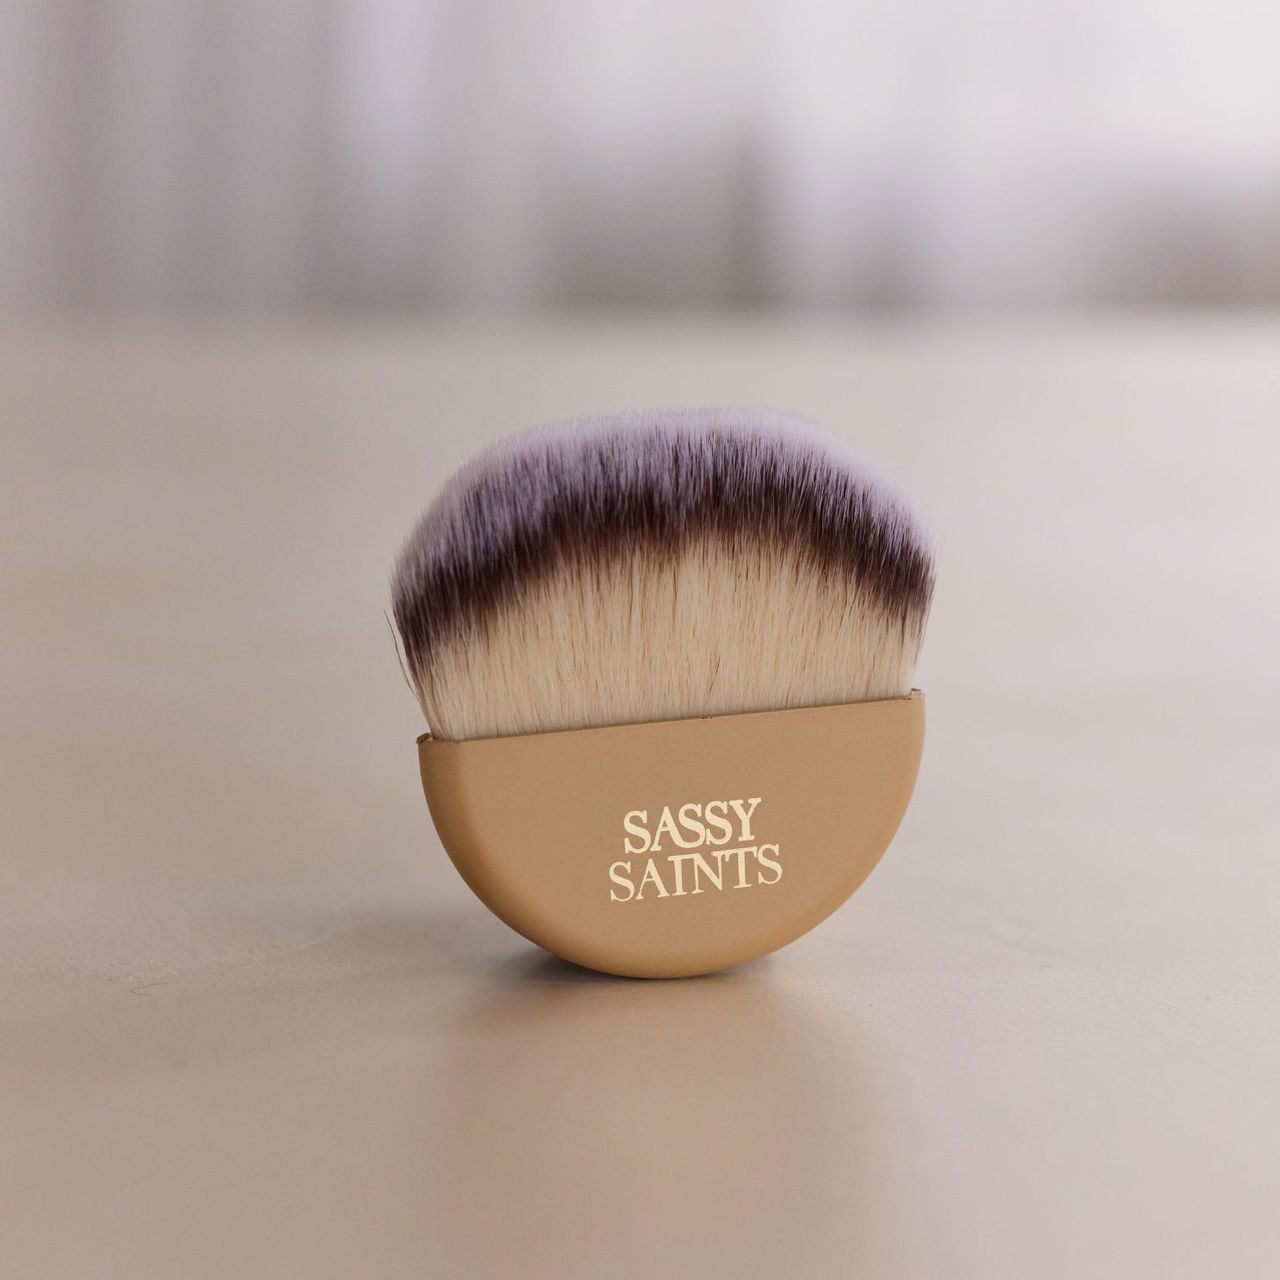
Powder Brush
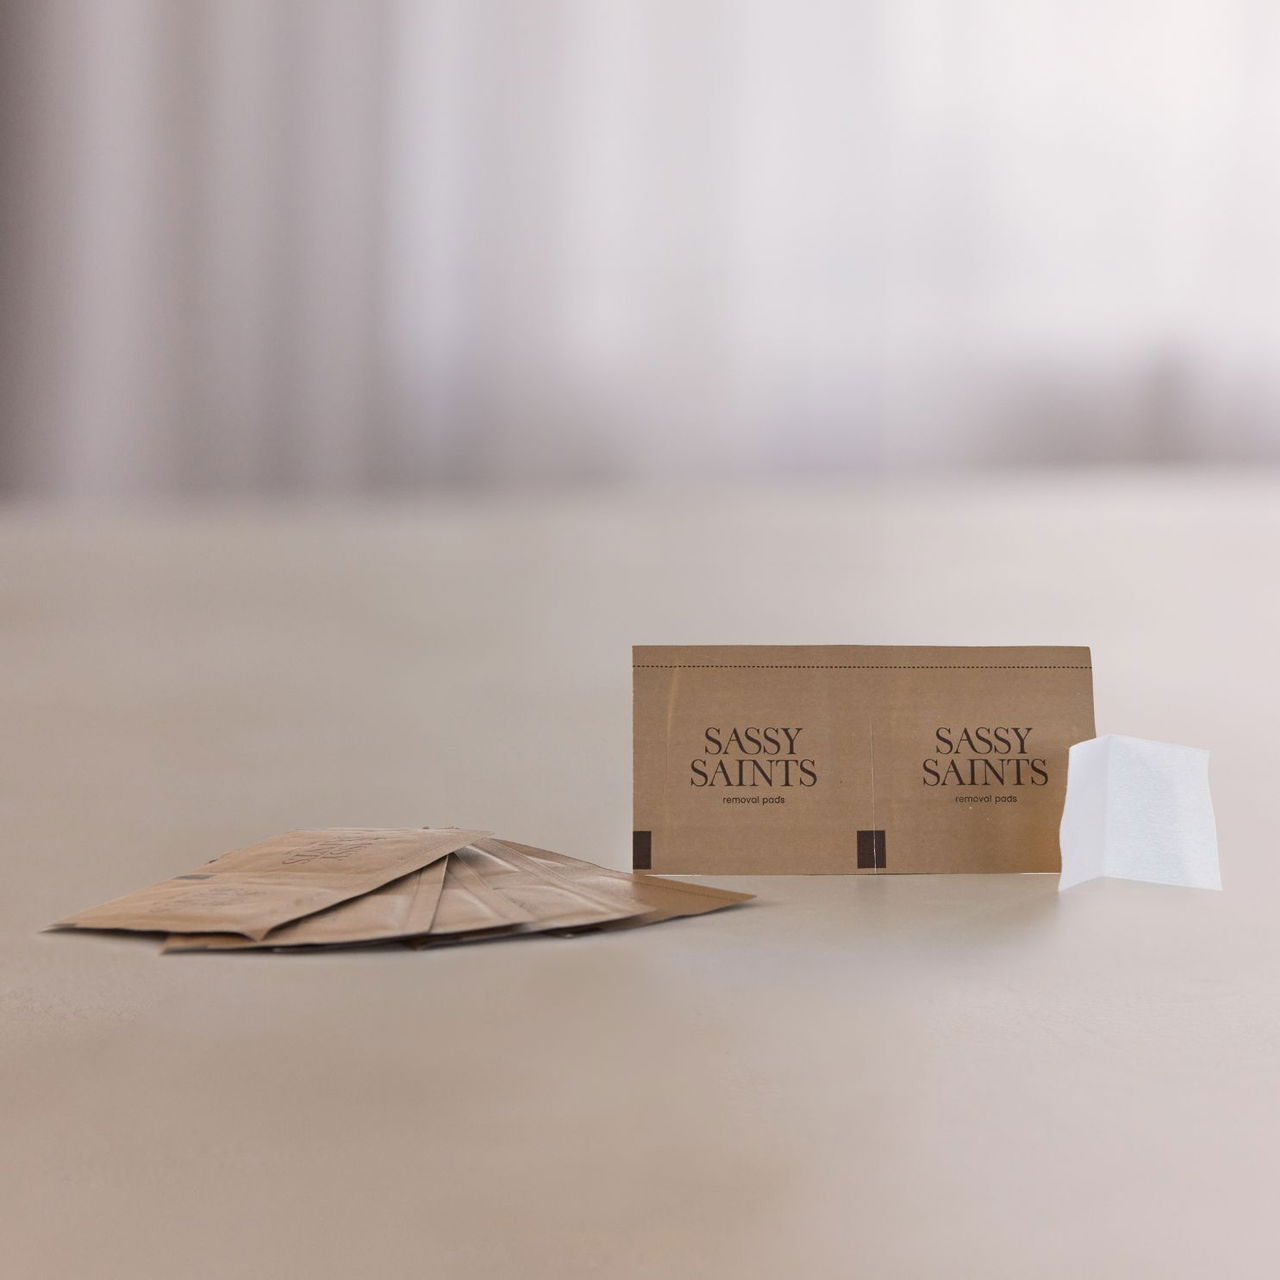
Removal Pad
(optional)

OR
Prime It
(optional)
STEP BY STEP GUIDE
A:
Start by using the fine side (logo side) of the nail file and file your nails in their desired shape. Repeat on all nails.
B:
Now, gently push back the cuticles using the cuticle pusher. With the other side, remove all dead skin from the nail. Make sure there is no white tissue left, as this can make them prone to lifting. Repeat on all nails.
C:
Gently buff the entire nail plate with the soft side of your file (logo side), starting at the cuticle and moving to the free edge. Ensure all shine is removed—including near the sides and cuticles—to prevent lifting. Avoid overfiling to protect your nails, and finish by brushing away all dust with the powder brush.
Optional
D:
Apply the primer to your nails for maximum durability. Repeat on all nails.
Move on to step 2 below the video
Step-By-Step Video

2
Step - BASE + DIP
IMPORTANT INFORMATION
Wherever Base It is applied, powder will stick. It is crucial that you don’t allow any Base It to touch your cuticles or skin, this will lead to chipping, cracking and lifting nails.
Make sure to apply THIN layers of the Base It. if you apply the Base it too thickly the layers won't set properly.
In this tutorial, we’ll discuss ‘capping the free edge.’ This technique involves swiping the brush along the tip of the nail plate after applying each layer. It helps prevent chipping at the edges, ensuring longer-lasting results.
When you're not using the bottle make sure to fully screw on the lid to prevent the brush from going hard.
Coat 1 nail at a time and DIRECTLY dip your finger into the powder. Base It dries quickly so working on 1 nail at a time is important.
!
Products Needed
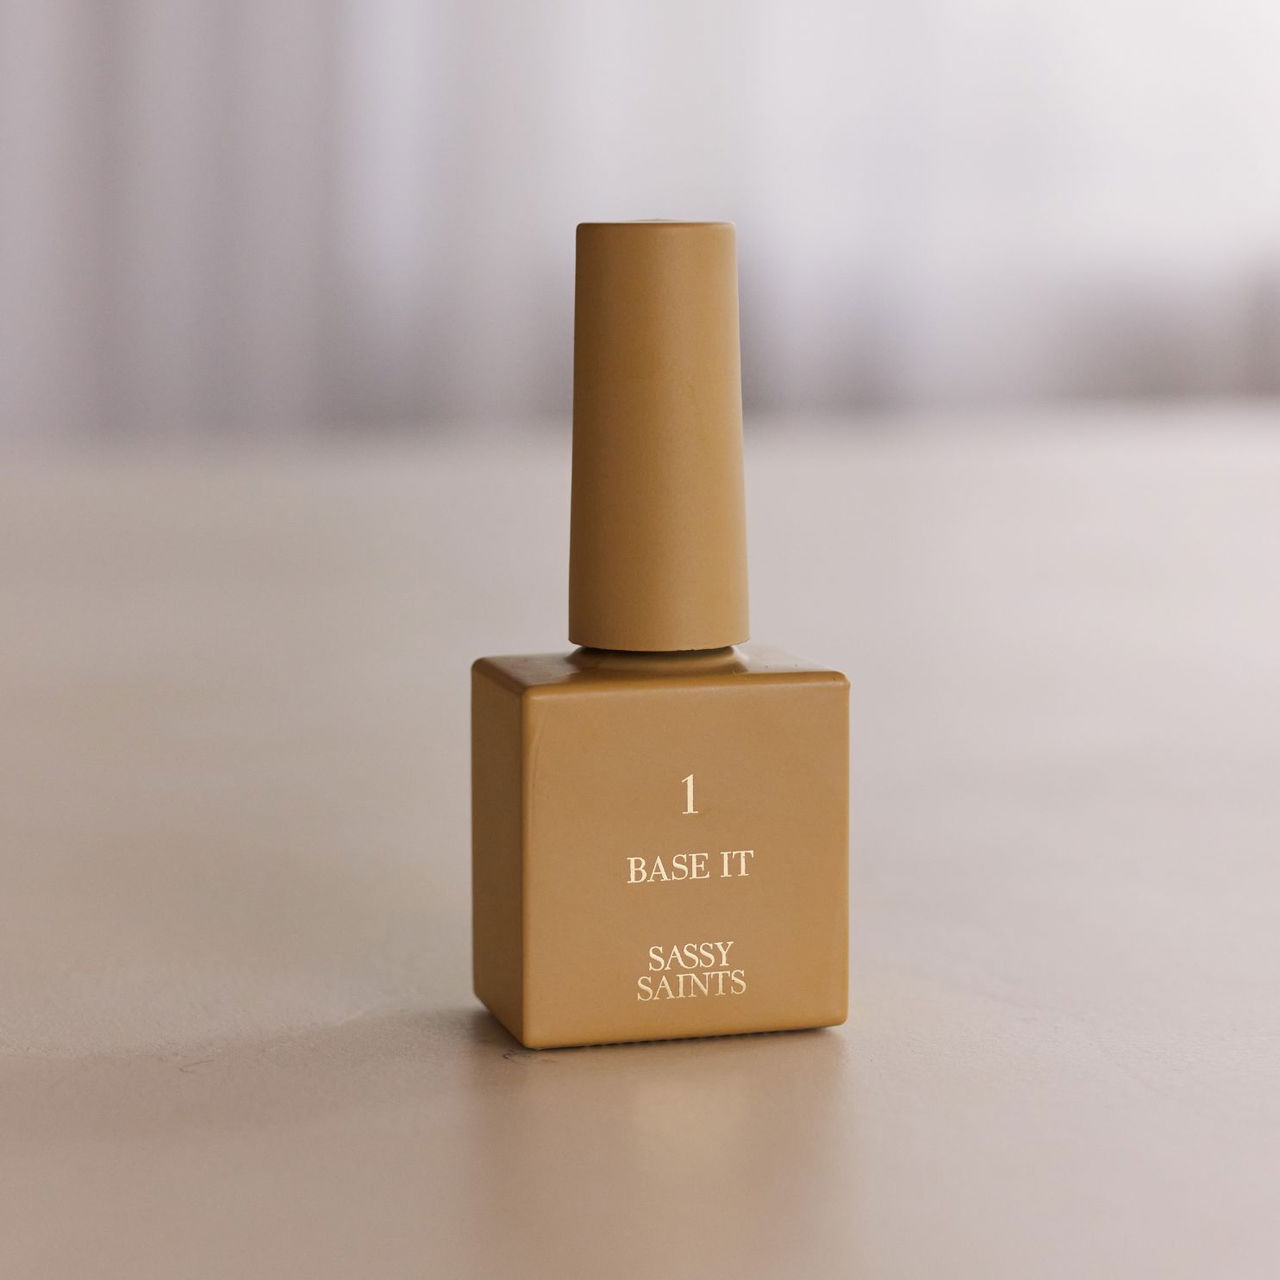
1. Base It
Dipping Powder
Powder Brush
Cuticle Pusher
STEP BY STEP GUIDE
A:
Stir through the powder with your cuticle pusher to make sure there are no clumps in the powder and application will be smooth.
B:
Take out the base coat brush and swirl your brush into the neck of the bottle. (This helps to prevent too thick application)
C:
Now it’s time to APPLY first layer of BASE IT + DIP
Work One Nail at a Time: Apply the base coat to one nail and dip it directly into the powder before it dries. Here is a detailed explanation:
- Apply a Thin, Even Layer: Use a light hand to apply a thin and even coat of Base It, ensuring you cover all areas of the nail, including the sides, and get as close to the edges as possible—without touching the skin or cuticle.
- Swipe the Free Edge: After coating the nail with base it, use the remaining product on your brush to swipe the very tip of your nail (the free edge). This ensures the entire nail is encapsulated in product for better durability.
- Dip Immediately: Dip your nail into the powder at a 45-degree angle (or backwards dipping for longer nails or extensions). Check the QR code for a detailed demonstration.
- Ensure Full Coverage: Make sure your nail is fully covered in powder. Then, gently tap off the excess powder before moving to the next nail.
Once you’ve done this on 1 nail (base + dip) you can move on to the next nail. Repeat the above on all nails.
exception
D:
If the powder on your nail appears wet, you've used too much base coat and you need to redip your finger without adding more base it. Repeat on nails that appear wet.
E:
After you've done all your nails brush off any excess powder with the powder brush. Repeat on all nails.
F:
Now clean up the edges & cuticle area with the back of the cuticle pusher (or the clean up tool from the manicure toolbox) so you get a neat cuticle. Repeat on all nails.
Move on to step 3 below the video
Step-By-Step Video
2.1
Step - 2ND LAYER OF BASE + DIP
A:
Apply the base + dip on all nails.
B:
Brush off any excess powder with the powder brush.
C:
Clean around the cuticle.
Move on to step 3 below the video
Step-By-Step Video
2.2
Step - 3RD LAYER OF BASE + DIP
A:
Apply the base + dip on all nails.
B:
Brush off any excess powder with the powder brush.
C:
Clean around the cuticle.
Move on to step 3 below the video
Step-By-Step Video
2.3
Step - 4TH LAYER OF BASE + DIP
A:
Apply the base + dip on all nails.
B:
Brush off any excess powder with the powder brush.
C:
Clean around the cuticle.
Move on to step 3 below the video
Step-By-Step Video
3
Step - ACTIVATE IT
IMPORTANT INFORMATION
The 2. ACTIVATE IT is the solution that hardens the nails to prevent chipping & cracking.
This solution is skin-friendly, so don't be afraid to touch the skin.
Make sure to apply generously, VERY GENEROUSLY all over the nail plate.
The free-edge of the nail is most likely to chip & crack because it's the most flexible, make sure to apply generously on the free-edge.
Don’t worry if your nails are clumpy or uneven—this step will perfect their shape. It’s normal for first attempts to be a bit clumpy, but 97% of our customers get flawless results by their third try. You’ve got this!
!
Products Needed
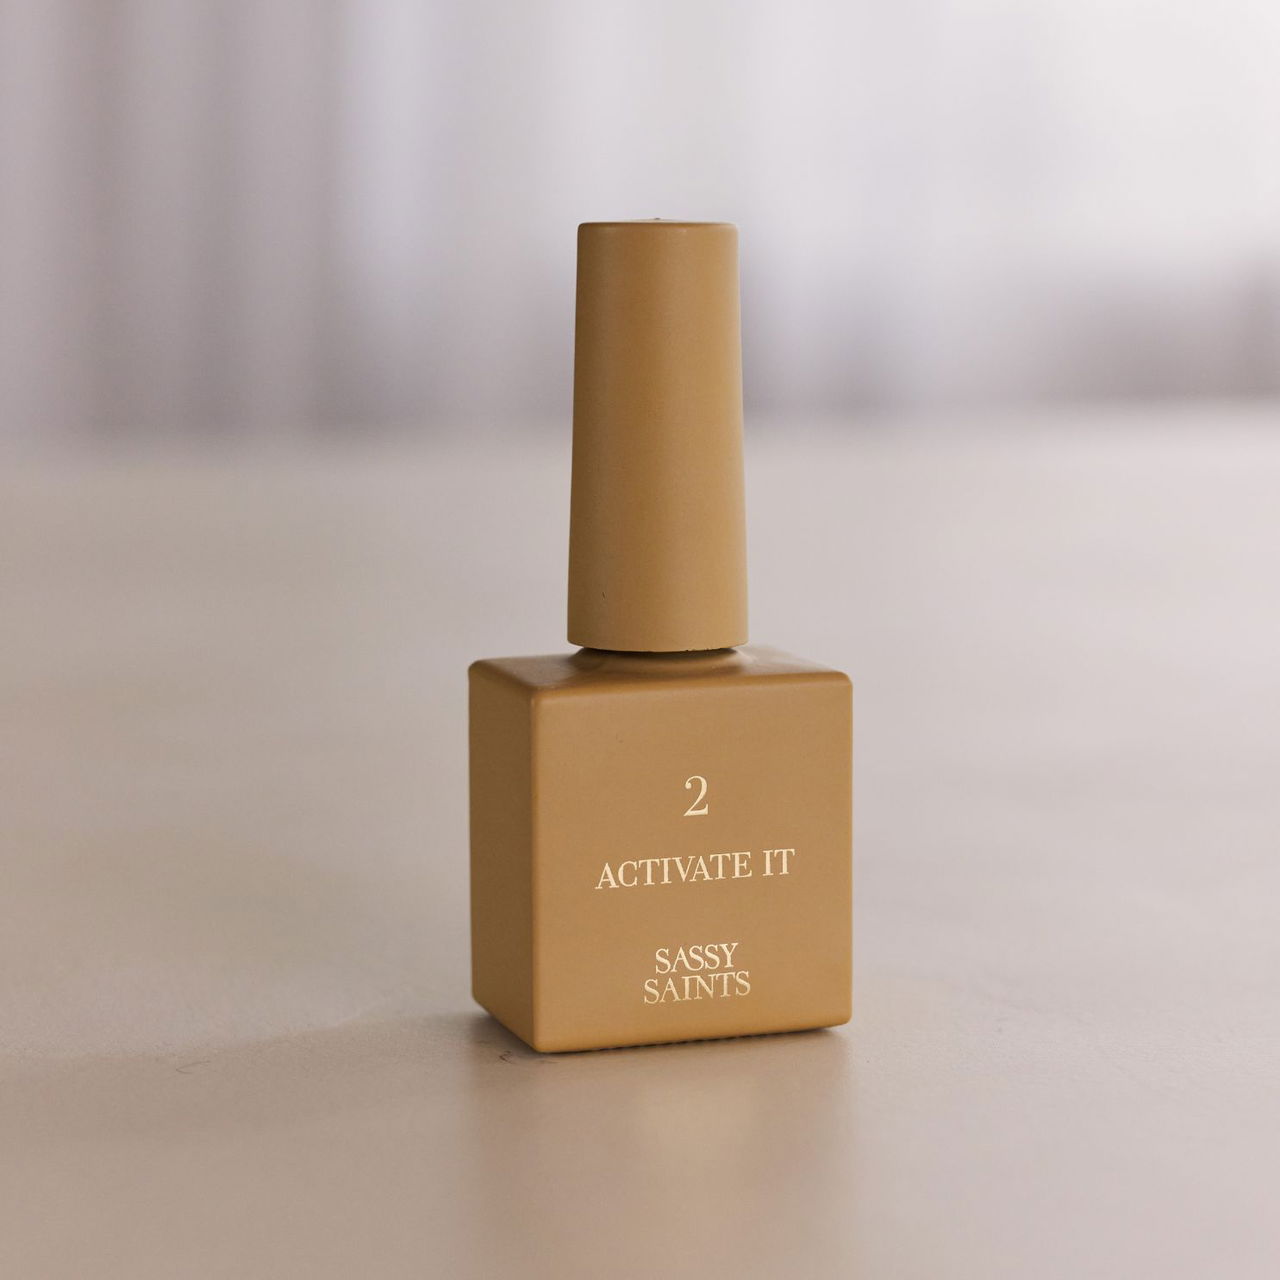
2. Activate it
Nail File
Powder Brush
Paper towel (optional)
STEP BY STEP GUIDE
A:
Apply 1 very generous layer of activator to the full nail plate. It's important to coat the edges and the free edge also. Use plenty & don’t be afraid to touch your skin with this step. Repeat on all nails.
B:
Set your timer for 2 minutes and wait until the activator has fully hardened.
C:
Grab the fine side of the nail file and file until all bumps, and impurities disappear, leaving the nail perfectly smooth. Don’t hesitate to file until the surface is thin and even—the free edge of your nail should be roughly the thickness of a credit card when viewed directly.
If your nails are too thick, continue filing until you're satisfied with the thickness. However, if they’re thinner than a credit card, they may be too thin and more likely to chip. In that case, we recommend applying another layer of Base It & Dip to reinforce them. Repeat on all nails.
D:
When you are done shaping:
Remove the excess dust with the powder brush. Repeat on all nails.
3.1
Step - 2ND LAYER OF ACTIVATE IT
A:
Apply a second layer of Activate It. Apply a very generous amount. Again: the more, the better, and also make sure to cap the free edge of the nails. Repeat on all nails.
B:
Wait 2 minutes until all the nails are FULLY dry.
C:
After the timer goes off, wash your hands with lukewarm water and dry them fully. This will prevent the brush from hardening.
D:
To make sure the nail is fully dry go over it with a piece of paper towel. If your nail is not fully dry and you apply the Top It, then the brush will become hard. So make sure your nails are FULLY DRY!!
4
Step - TOP IT
IMPORTANT INFORMATION
When you're not using the bottle, make sure to fully screw on the lid to prevent the brush from going hard.
The 'Top it' sticks so do NOT touch your skin or cuticles to avoid premature cracking.
And if you apply a too thick layer of the Top it, a “blister” will occur, so ensure your layers are thin and even.
Remember to seal in the tip of your nail by capping the free edge to prevent chipping and cracking.
!
Products Needed
3. Top it
Paper towel (optional)
Cuticle Oil (optional)
STEP BY STEP GUIDE
A:
Apply a thin, even layer of Top It to each nail, making sure to cap the free edges. After applying Top It to each nail, wipe the brush on a paper towel before placing it back in the bottle. This prevents the brush from hardening and the liquid from becoming contaminated. Repeat for all nails
B:
Now wait for 2 minutes.
4.1
Step - 2ND LAYER OF TOP IT
A:
When the timer goes off you then apply a 2nd thin layer of Top it. Repeat on all nails.
B:
Again wait for 2 minutes.
optional
C:
Apply cuticle oil for the health & strength of your nails.
D:
Now you are complete! Great job!
GET A FREE COLOUR.
Fill out this quick 1 minute survey.
GO TO SURVEY
CLEANING AFTER USE
This step is important to ensure you keep your kit in great working order!
To prevent the neck of the bottle of step 1 & 3 getting stuck, clean the neck of the bottles after each use. Go over outside the neck of the bottle with the brush cleaner and clean it with paper towel. Also make sure to store them upright
Did your brushes harden? Start by cleaning your brush with a paper towel. Then, swap it with the Step 4 'Clean It' brush (be sure to also clean the 'Clean It' brush with paper towel before placing it into the other bottle). Leave the brush in the bottle for 24 hours to soften.
Hardened Powder In Brush? If there's any hardened powder in your powder brush you can easily remove it by filing with your nail file.
PRO TIPS
Issue: Chips & Cracks
Chips and cracks usually occur at the free edge due to weak spots. When your nail flexes but the dip powder stays rigid, it can break off. Flexible nails are more prone to this than stronger ones.
How to Prevent It:
Prep Properly: Remove all shine from the nail and cap the free edge with Base, Powder, Activate and Top it for added strength.
Avoid Skin Contact: Ensure no product touches the skin, as this can lead to cracks.
Start with a Strong Base & Minimize Removals by infilling: Begin with 1–2 layers of Vitamin Powder before applying 2 layers of colour. This creates a strong base beneath the coloured powder. When it’s time for removal, avoid soaking your nails in acetone. Instead, file down to the Vitamine Powder layer and reapply 2 layers of colour to cover the growth. This helps maintain nail strength.
Air-Dried Base Coat: Apply 1 layer of base coat and let it air dry without dipping. This can strengthen the nails.
Add More Layers: For nails that crack easily, use at least 4 layers of dip powder. You can also add a layer of clear powder over the color for extra strength without adding bulk.
Consider Nail Tips/Extensions: If cracking and chipping persist, use our half nail extensions. These are less flexible than natural nails and greatly improve the durability. Our pre-shaped extensions, available in 4 sizes and shapes, are perfect for beginners.
Try the Apex Method: Follow our apex method instructions.This builds strength in the right places.
Issue: Nails Lifting
Lifting happens when your nail product separates from your natural nail, creating a gap. This can snag on hair, worsen over time, and trap moisture, leading to bacteria growth or green discoloration (“greenie”). It’s often caused by improper prep or rushed application. Both prep and careful application are essential for long-lasting nails.
How to Prevent It:
Thorough Prep: Remove all shine from every part of the nail. Missing even small areas can affect adhesion, so take your time to prep properly.
Avoid Base on the Cuticle: Applying Base It on the cuticle can lead to lifting. Apply it close to the cuticle, but never directly on it.
Dehydrate Nails: For extra adhesion, use an additional dehydrator or acetone before the primer to fully dehydrate the nails.
Issue: Thick Nails
Thick nails not only appear bulky and unprofessional but can also lead to lifting, breakage, and damage to your natural nails. They waste product and don’t last as long as properly shaped nails. Ideally, nails should be no thicker than a credit card (0.03 inches) when viewed head-on.
How to Prevent It:
Apply thin layers of Base it or Top it for each layer.
Buff thoroughly and check from all angles to smooth out any harsh lines.
Use the apex method to create slight thickness in the middle while keeping the cuticle and sidewalls thin.
Issue: Brush Gone Hard
Why Does the Top It Brush Harden?
Activator Residue: Activator hardens powders, and any residue left on your nails can transfer to the Top It brush, causing it to harden.
Exposure to Air: Leaving the brush exposed for too long allows it to harden. Work quickly and return the brush to the bottle for at least 5 seconds between nails to refresh it.
Cross-Contamination: If Activator or water gets into the Top It bottle, it can solidify the brush or thicken the liquid.
How to Prevent It:
Prevention Tips:
Wipe the brush on a paper towel after each nail to prevent contamination.
Always clean brushes in No4 Clean It for 24 hours after completing a manicure, even if they aren’t hard. Regular cleaning keeps brushes and liquids in top condition.
Use a spare brush while the original one soaks.
Still Having Issues?
If the brush keeps hardening, your liquid may already be contaminated and might need replacing. Proper cleaning and careful application are key to preventing this!
Issue: My Bottle Got Stuck
This can happen if Base It or Top It gets on the neck or rim of the bottle, causing it to seal shut.
How To Solve It:
Soak the entire bottle in warm water for 3 minutes to loosen the cap.
How To Prevent It:
Be careful not to let product touch the neck of the bottle, as this can cause it to seal shut.
After each use, thoroughly clean the neck with a lint-free wipe soaked in Clean It liquid.
Avoid getting Clean It liquid inside the bottle to prevent contamination.
Issue: Gloopy Liquids
This happens when your liquids become contaminated with powder, activator, or other substances.
How To Solve It:
Unfortunately, this cannot be resolved, so we recommend purchasing new liquids to ensure the best results.
Issue: Top Coat Not Drying
This happens when you’ve applied too little activator. The Top coat needs the activator to harden.
How To Solve It:
Next time, make sure to use more activator.
PRECAUTIONS & WARNINGS
Use only as directed. Read instructions before use.
Discontinue use if irritation occurs. Seek medical advice if irritation persists.
Use in a well-ventilated area. Avoid inhaling fumes. Do not ingest.
Store in a cool, dry place. Keep away from heat.
Keep out of reach of children.
!
BASE IT AND TOP IT:
Bonds skin and eyes in seconds. Avoid contact with skin and eyes. In case of contact with eyes, rinse immediately with plenty of water and seek medical advice. If bonding occurs on the skin, do not pull apart. Soak in warm soapy water and gently peel apart.
PATCH TEST REQUIRED:
Before using our Dip Manicure Set, it is essential to carry out a patch test on one nail to ensure you have no allergies or sensitivities, including a reaction known as "dip flu."
What Is Dip Flu?
Dip flu refers to an allergic-like reaction some individuals experience due to exposure to dip powder fumes or ingredients. Symptoms may include coughing, sneezing, watery eyes, or nasal congestion. Although not common, it’s important to take precautions to ensure your safety.
How to Perform a Patch Test:
Apply the products to one nail, following the instructions on our website.
Monitor the area for 24-48 hours for any signs of irritation, redness, swelling, or discomfort.
If you experience any adverse reactions or symptoms of dip flu, discontinue use immediately, remove the product if possible and consult a medical professional.
We are here to support you every step of the way
If you feel like you need some more support then we are here to help! Drop us an email on wegotyou@sassysaints.com and we will happily assist you.

Sassy Saints Community
Join our Facebook Community to connect with thousands of ladies leveling up their nail game! 💅 Get expert tips, friendly support, and a chance to win our color collection in monthly giveaways!
join group