OTHER SALON KITS


Sassy Saints Brow Lamination & Tint Tutorial
Achieve perfectly laminated and tinted brows at home with our easy step-by-step guide. This tutorial will help you create salon-quality results, whether you’re a beginner or experienced. Let’s get started!
Patch Test (Safety First!)
Why it's important:
Performing a patch test ensures that you won't have an allergic rection to the product.
Apply a small amount of Shape It, and Fix It for the recommend time & a small amount of tint & oxidize it to the inner elbow or behind your ear.
Leave the product on for the recommended time (see flowchart), rinse, and wait for 24 hours.
If redness, swelling, or irritation occurs, do not proceed with the treatment.
Precautions for Lash Lift & Tint
Avoid Sensitive or Inflamed Areas:
Don’t tint lashes if the skin around your eyes is irritated or inflamed.
Work on One Eye at a Time: This ensures precise results and an easier process.
Aftercare: For the first 24 hours, avoid water, makeup, direct sunlight, and rubbing your lashes.
Protect from Heat and Chemicals:
Avoid steam, saunas, and harsh treatments for 24-48 hours to prevent premature fading.
Hydrate:
Apply a hydrating serum after 24 hours to keep lashes healthy.
What You'll Need:
Prepare these supplies for a smooth and efficient process:
Stick It, Shape It, Fix It, Clean It, Boost It (lamination solutions)
Plastic wrap (pre-cut)
Applicator brush
Brow tint
Oxidize it
Mixing plate
Vaseline
Cotton buds
Cotton pads
Pro Tip: Having everything ready before you start will ensure the process runs smoothly.
Choosing Your Shade
Your results depend on choosing the right tint shade:
For a natural look: Select a lighter shade from the flowchart.
For a bold look: Opt for a darker shade from the flowchart.
Pro Tip: If you’re new to tinting, start with a lighter shade and go darker in subsequent applications. We advise starting off natural to get a feel for the product and how the tint develops on your brows and you can always go darker the next time.
Apply Skin-Friendly Tape and Shield
Prepare the Tape:
Peel off both sides of the double-sided tape. Use a small fold on one side to easily remove it.
Apply Tape:
Place tape on your eyelid, close to the lash line. Add a smaller strip for precise fit.
Attach the Shield:
Place the shield onto the tape and press it down, ensuring a snug fit.
Stir until the mixture has a smooth, creamy consistency.
Pro Tip: Only prepare enough tint for one eye at a time.
Your Guide To Perfect Lashes
10 min
Ratio:
1 pump Black
1 pump Oxidize It
STEP 2
Apply Stick It
About the Collagen Sheet Mask:
Ensure your brows are clean and free from makeup or oils.
Use Stick It to apply a small amount to the beginning of your brows in sections.
Use the mascara wand side of the applicator brush to brush hairs upwards and to the side.
Press hairs into place with your fingertips.
How to use the Collagen Sheet Mask:
Open the collagen sheet mask, unfold it, and place it onto your face for 15 minutes. Afterward, remove the mask and massage the remaining residue into your skin with clean hands.
Step By Step Tutorial
Now comes the fun part!
Apply Shape It
Apply Shape It with the applicator brush, ensuring all brow hairs are covered.
Lay a pre-cut piece of plastic wrap over your brows and start your timer.
Repeat on the other brow.
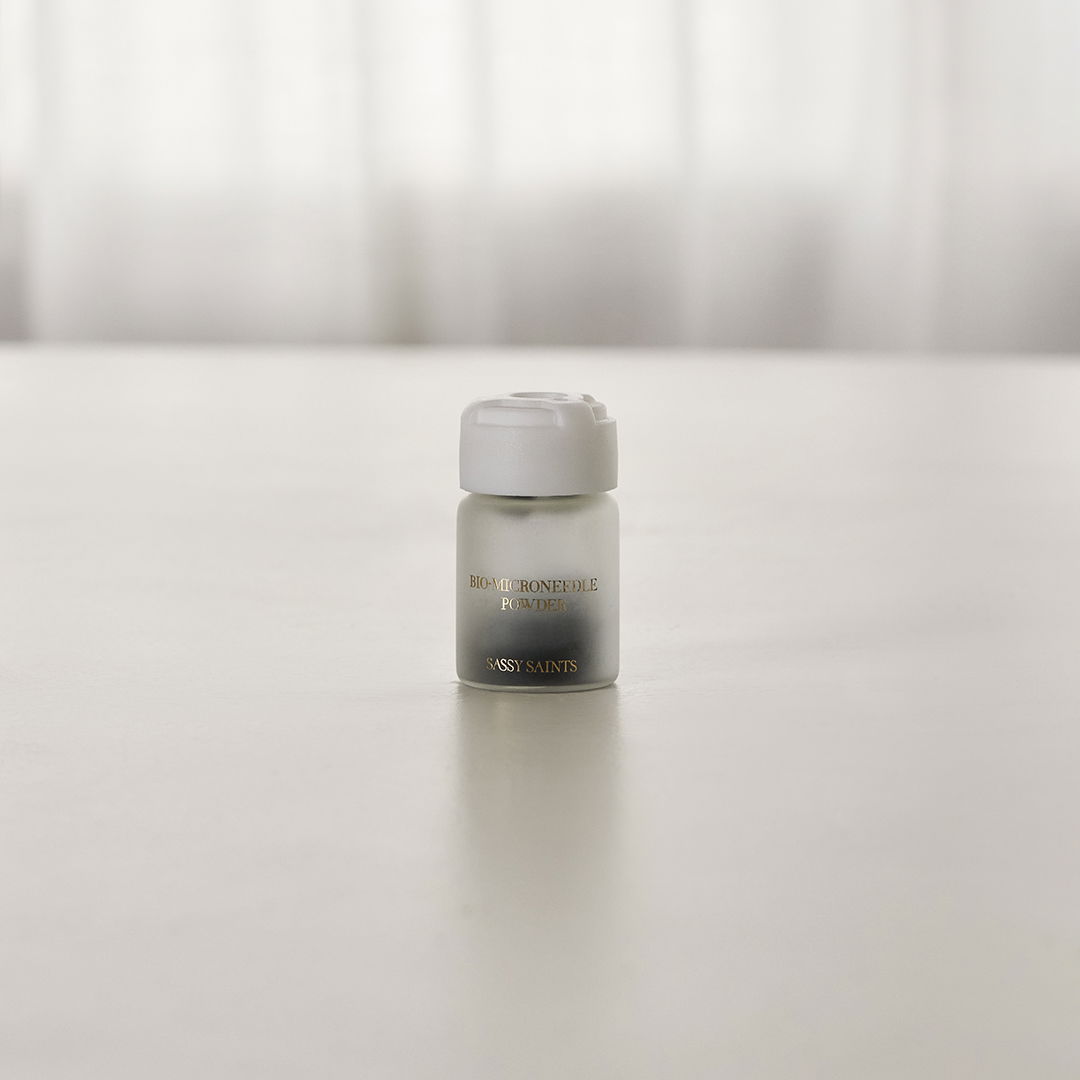
How to Use the Bio-Microneedling liquids:
1
Take your small mixing bowl and combine the Bio-microneedle Liquid with the Bio-microneedle Powder.
2
Use the applicator brush, start applying a first layer to your skin and massage it in. Use your fingers to massage the paste into your skin using circular motions. You will feel a tingling sensation. The mask can dry quickly, so continue applying more layers until you’ve used all the paste. Massage in each layer and be sure to avoid the eye area. Massage the product in for at least 5 minutes.
3
Now, Leave the mask on for 15 minutes without further massaging. Until it’s fully dry.
Then, wash the mask off with lukewarm water, taking care not to get any in your eyes. Ensure your face is completely free of the mask after washing.
STEP 2
Processing Time
About the Collagen Sheet Mask:
Refer to the flowchart for the correct processing time based on your hair type.
Pro Tip: Brush through your brows 2 minutes before the timer ends to ensure all hairs are fully covered.
How to use the Collagen Sheet Mask:
Open the collagen sheet mask, unfold it, and place it onto your face for 15 minutes. Afterward, remove the mask and massage the remaining residue into your skin with clean hands.
STEP 3
Remove Shape It and Apply Fix It
About the Revitalising Glow Serum:
Remove the plastic wrap and use a dry cotton pad to remove residue.
Apply Fix It generously, ensuring all hairs are covered.
Cover with a fresh piece of plastic wrap and start the timer.
How to use the Revitalising Glow Serum:
Apply 3 pea-sized drops of serum from the syringe onto your hands and massage them into your skin.
Continue applying the serum on the day of application and the following day, both in the morning and evening.
STEP 2
Processing Time
About the Collagen Sheet Mask:
Refer to the flowchart for the correct processing time.
How to use the Collagen Sheet Mask:
Open the collagen sheet mask, unfold it, and place it onto your face for 15 minutes. Afterward, remove the mask and massage the remaining residue into your skin with clean hands.
STEP 3
Remove Fix It
About the Revitalising Glow Serum:
Remove the plastic wrap and use a dry cotton pad to clean any residue.
How to use the Revitalising Glow Serum:
Apply 3 pea-sized drops of serum from the syringe onto your hands and massage them into your skin.
Continue applying the serum on the day of application and the following day, both in the morning and evening.
STEP 2
Protect Skin for Tinting
About the Collagen Sheet Mask:
Apply a thin layer of Vaseline around your brows using a cotton bud.
Avoid getting Vaseline on brow hairs, as it will block the tint.
How to use the Collagen Sheet Mask:
Open the collagen sheet mask, unfold it, and place it onto your face for 15 minutes. Afterward, remove the mask and massage the remaining residue into your skin with clean hands.
STEP 3
Prepare the Tint
About the Revitalising Glow Serum:
Mix tint and oxidant in a 1:1 ratio (e.g., one pump of each).
Stir until you achieve a smooth, creamy consistency.
How to use the Revitalising Glow Serum:
Apply 3 pea-sized drops of serum from the syringe onto your hands and massage them into your skin.
Continue applying the serum on the day of application and the following day, both in the morning and evening.
STEP 2
Apply the Tint
About the Collagen Sheet Mask:
Use the flat side of the applicator brush to apply tint, starting from the inner corner and working outward.
Clean up edges with a cotton bud for a sharp, precise finish.
Start your timer immediately after applying the tint.
How to use the Collagen Sheet Mask:
Open the collagen sheet mask, unfold it, and place it onto your face for 15 minutes. Afterward, remove the mask and massage the remaining residue into your skin with clean hands.
STEP 3
Processing Time
About the Revitalising Glow Serum:
Refer to the flowchart for the correct processing time based on your hair type.
How to use the Revitalising Glow Serum:
Apply 3 pea-sized drops of serum from the syringe onto your hands and massage them into your skin.
Continue applying the serum on the day of application and the following day, both in the morning and evening.
STEP 2
Check the Colour
About the Collagen Sheet Mask:
Wipe a small section at the inner corner with a dry cotton pad to check the tint.
Reapply if needed for a darker result, but avoid overprocessing.
Pro Tip: Remove the inner corner 2 minutes early for a natural ombre effect.
How to use the Collagen Sheet Mask:
Open the collagen sheet mask, unfold it, and place it onto your face for 15 minutes. Afterward, remove the mask and massage the remaining residue into your skin with clean hands.
STEP 3
Remove Tint
About the Revitalising Glow Serum:
Wipe the tint away with a cotton pad until clean.
Use Clean It solution to remove remaining residue and cleanse brows thoroughly.
Avoid water for the first 24 hours.
How to use the Revitalising Glow Serum:
Apply 3 pea-sized drops of serum from the syringe onto your hands and massage them into your skin.
Continue applying the serum on the day of application and the following day, both in the morning and evening.
STEP 2
Boost It
About the Collagen Sheet Mask:
Dip the mascara wand side of the applicator brush into
Boost It.
Remove excess product and brush through your brows to nourish and set the style.
How to use the Collagen Sheet Mask:
Open the collagen sheet mask, unfold it, and place it onto your face for 15 minutes. Afterward, remove the mask and massage the remaining residue into your skin with clean hands.
Aftercare Tips
It's time to let the magic happen. In the coming days, you’ll likely notice:
After using our facial kit, you can expect smoother skin texture, improved tone, reduced fine lines and wrinkles, minimized pores, and improvements in sun damage and hyperpigmentation.
To maintain your tint:
Avoid Water
: Keep your brows dry for 24 hours to let the tint set.
No Makeup
: Skip brow makeup for the first 24 hours.
Use a Brow Serum
: Apply a brow serum regularly to keep your brow hairs nourished, hydrated, and healthy.
Avoid Heat
: Stay away from saunas, steam, and sun exposure for 48 hours.
Don’t Touch
: Refrain from rubbing or scratching your brows.
Skip Exfoliation
: Avoid harsh scrubs or skincare on the brow area.
Aftercare:
To maintain your lash tint:
Avoid Water: Keep your lashes dry for 24 hours to let the tint fully set.
No Makeup: Skip mascara or eye makeup for the first 24 hours.
Avoid Heat: Stay away from saunaus, steam and hot showers for 48 hours.
Don't Touch: Refrain from rubbing or scratching your brows.
Skip Exfoliation: Avoid harsh scrubs or skincare on the brow area.
Use a Brow Serum: Apply a brow serum regularly to keep your brow hairs nourished, hydrated, and healthy.
No Chemicals: Avoid harsh skincare products near brows.
Use a Lash Serum: Apply a lash serum regularly to keep your lashes hydrated and strong.
b: Apply a gentle moisturizer or brow conditioner.
Maintenance Schedule:
For best results, reapply this process every 6 weeks.
That's It!
Congratulations! You’ve mastered the art of brow lamination and tinting at home. Enjoy your beautifully enhanced brows and the confidence they bring. Thanks for watching!