OTHER SALON KITS


Gel Wrap removal Tutorial
You Will Need The Following
Gather these supplies to ensure a smooth and hassle-free process
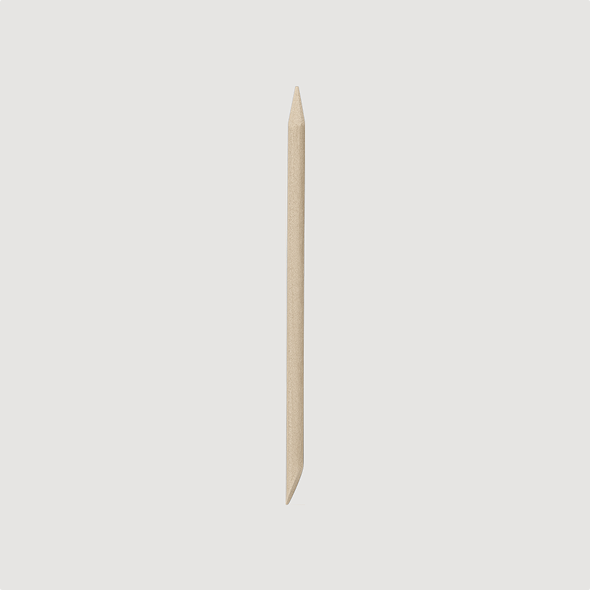
wooden cuticle stick
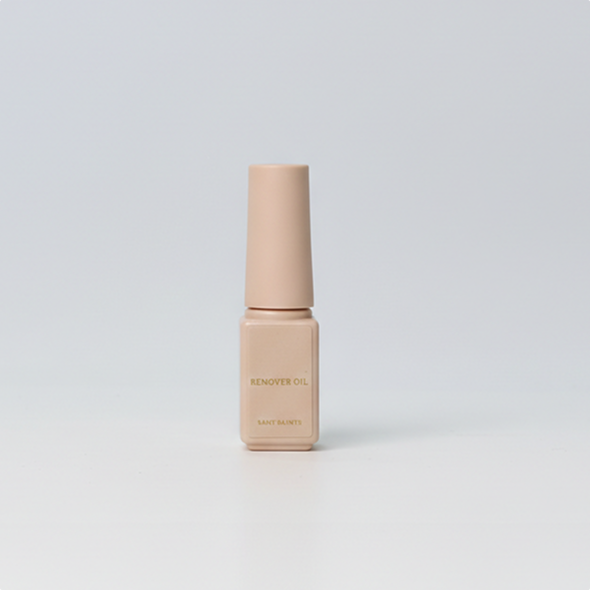
remover oil
(optional)
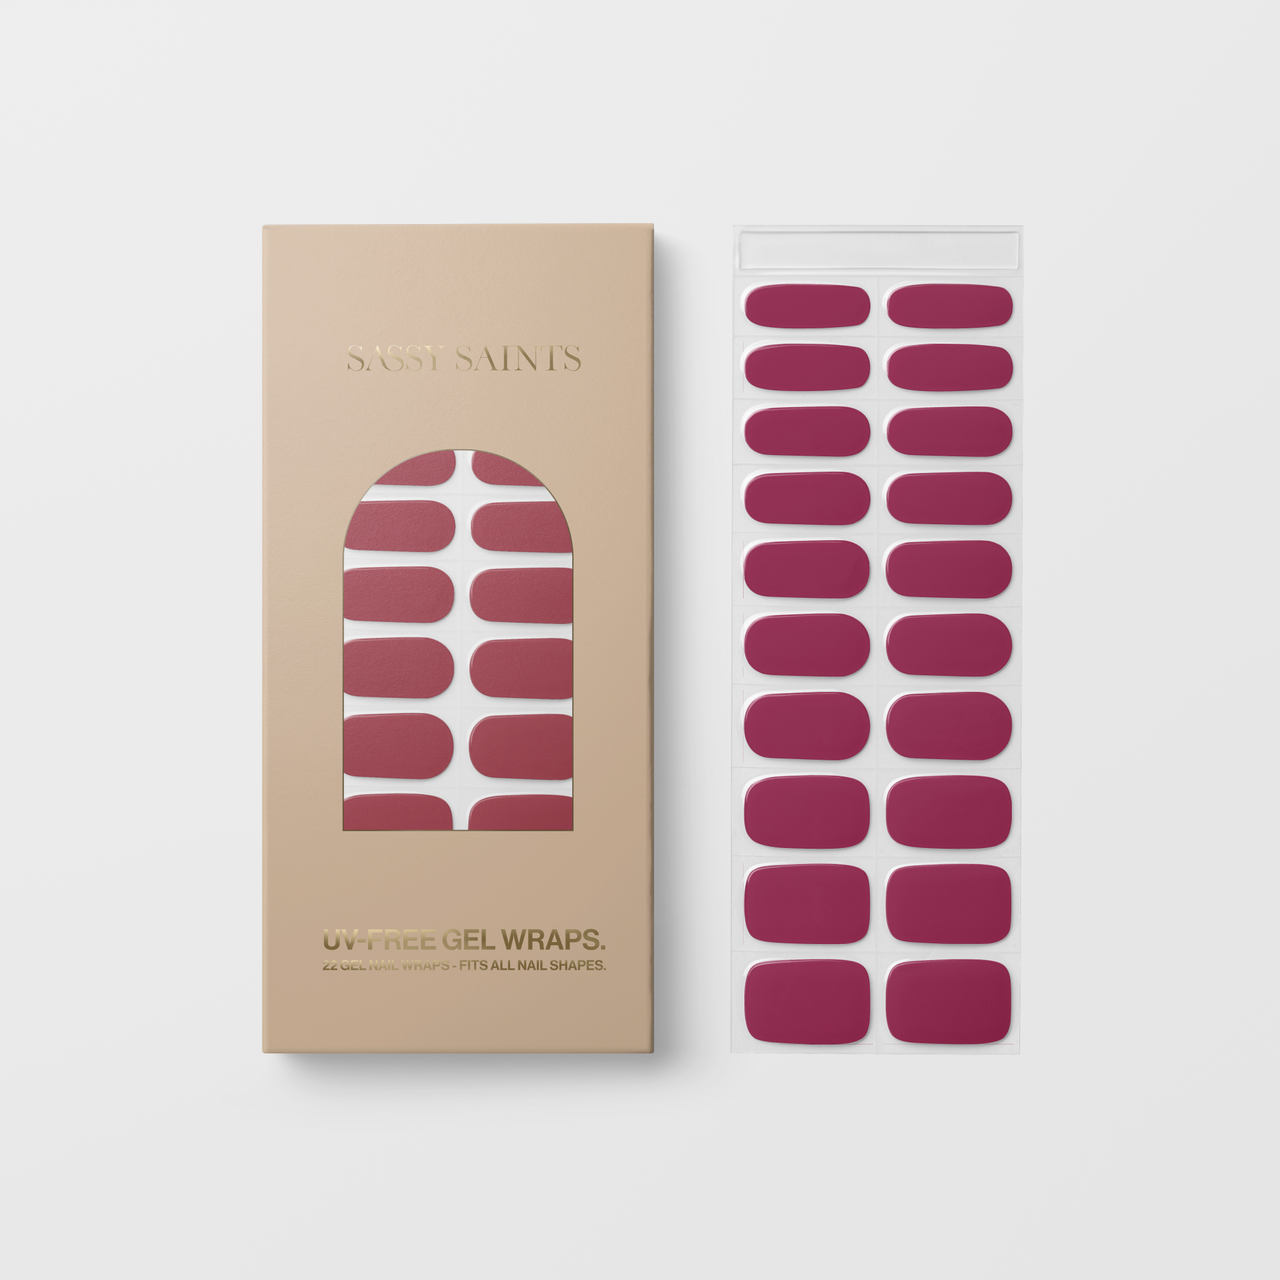
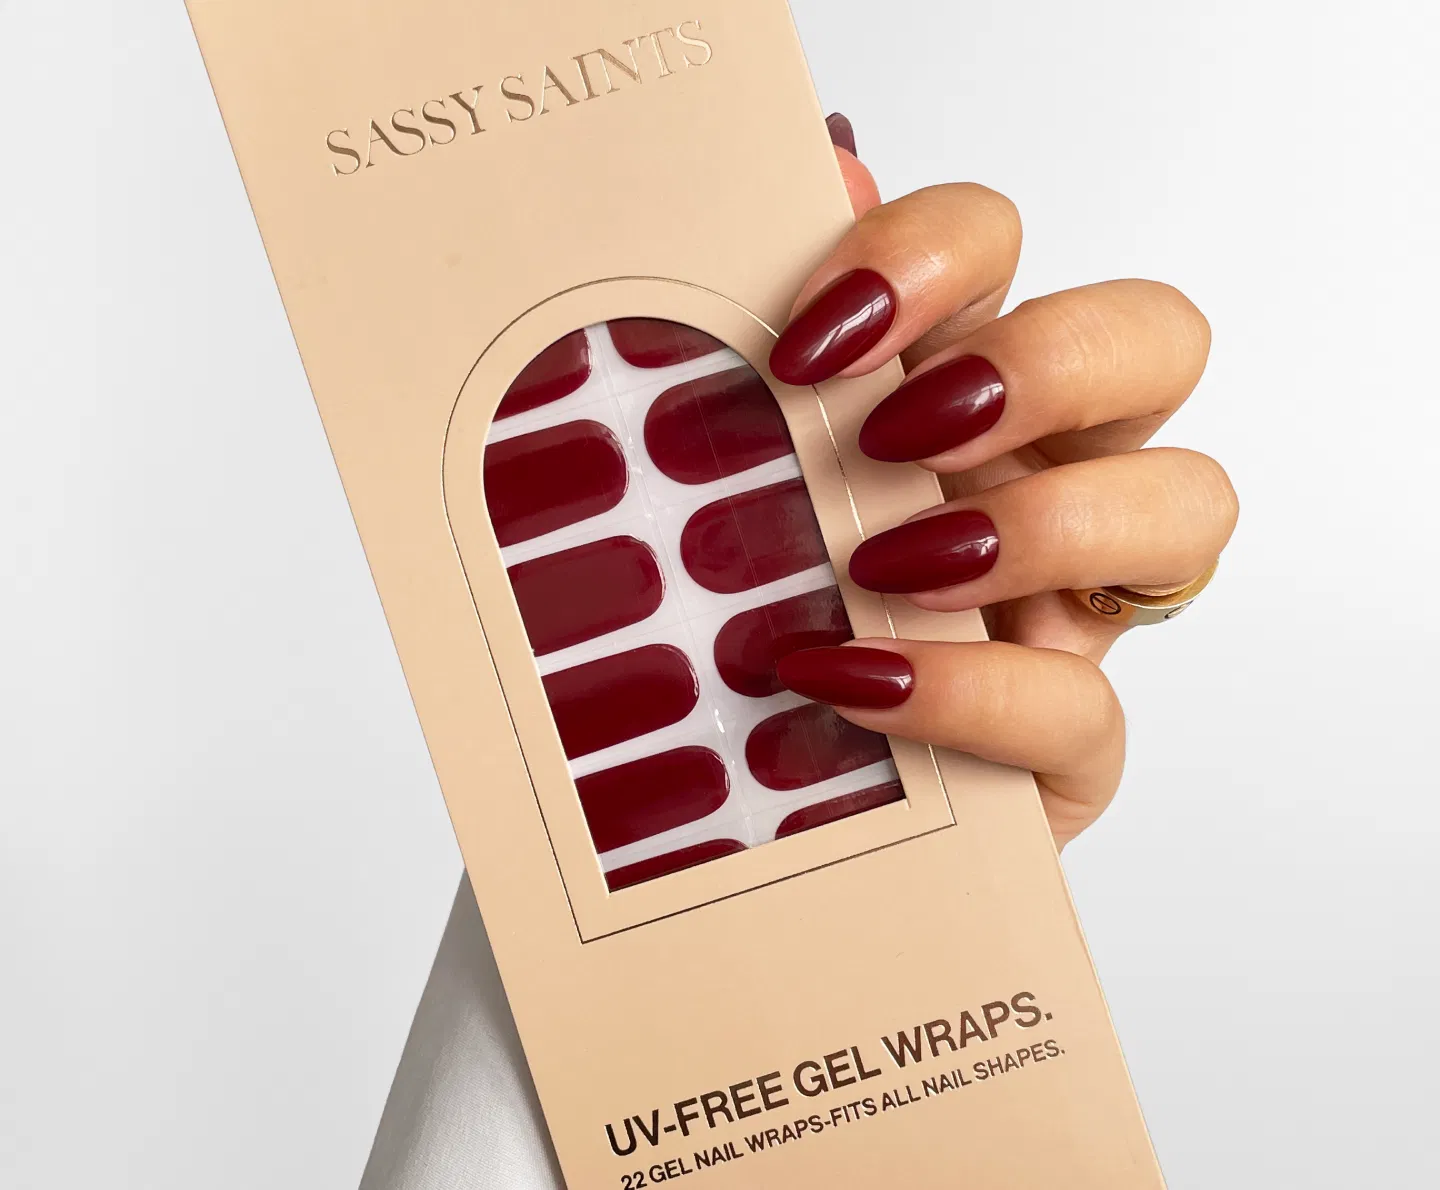
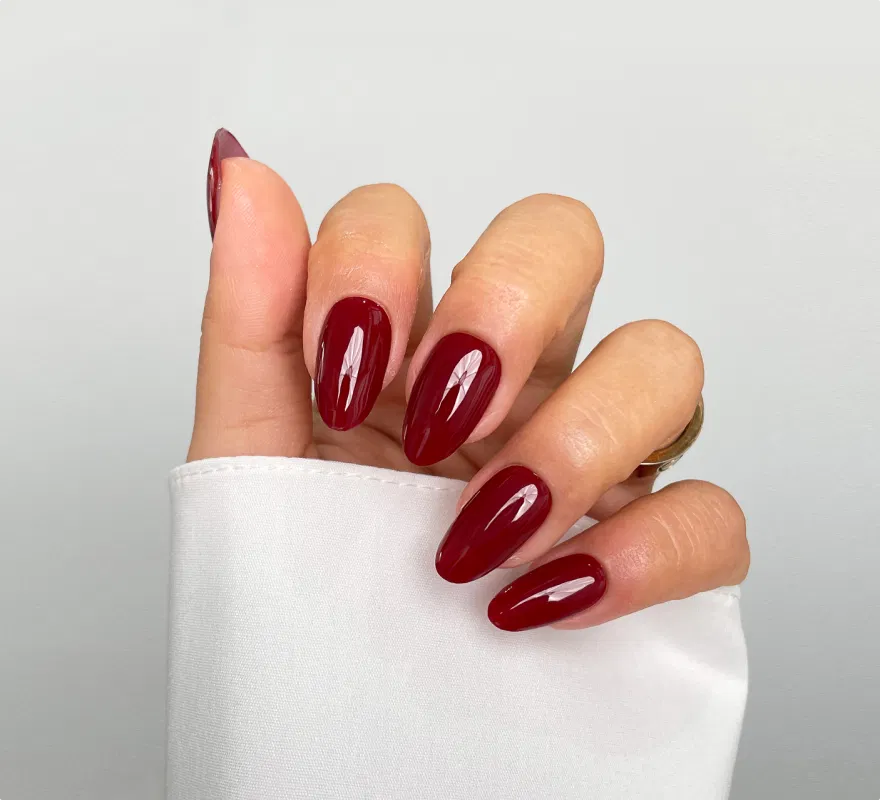
UV-Free Gel Nail Wraps
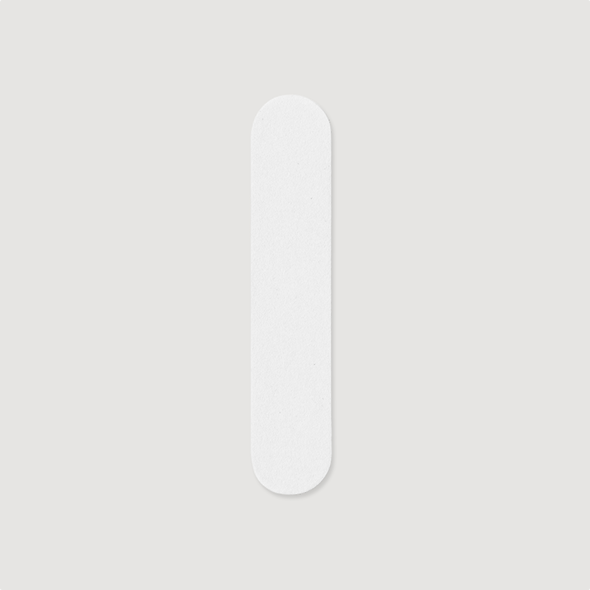
Nail File
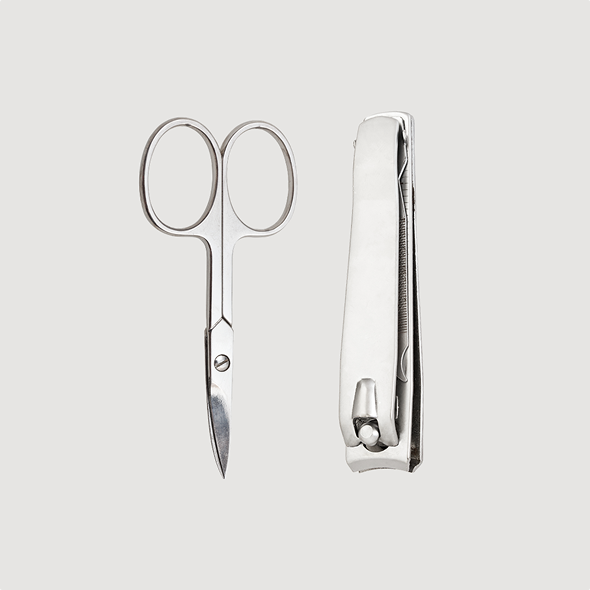
scissors/nail clippers
wooden cuticle stick
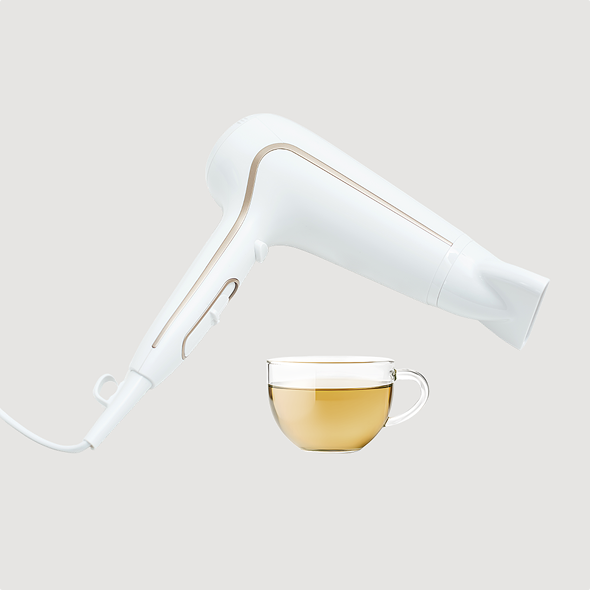
heat source
(only one heat source is required)

primer
(optional)
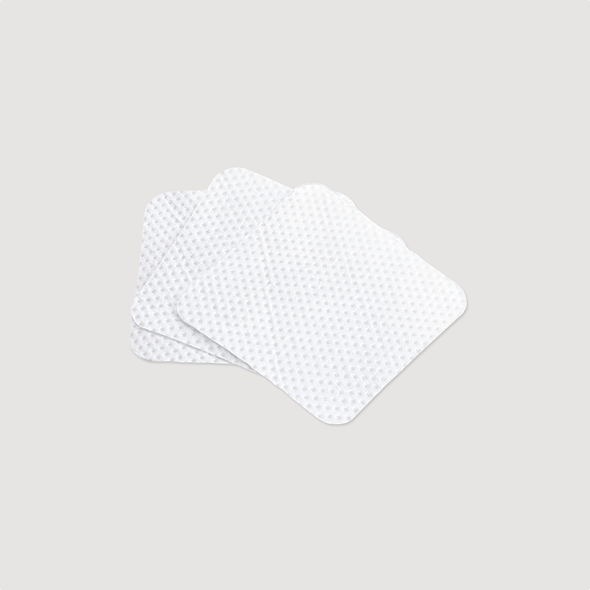
nail wipe
Setting the right expectations helps you enjoy the process even more

30 mins
1st Manicure
Slow. Imperfect. Totally normal.
You’re learning a brand-new system, so your brain is still figuring out the motions. Everyone starts here.
20 mins
2nd Manicure
Faster. Stronger hold. Big improvement
Your technique instantly gets better. You’ll notice fewer mistakes and longer wear without even trying.
10 mins
3rd+ Manicure
Effortless. Automatic.
By now it feels natural. You know your sizes, your routine, your pressure points. Your results rival a salon.

HOW TO REMOVE YOUR GEL WRAPS
When it’s time for a fresh set, removal is just as easy as the application. No harsh scraping or damage needed – our Gel Wraps are designed to come off gently with the right technique. Follow the steps below for safe, fuss-free removal that keeps your natural nails feeling healthy and strong.
tips & tricks
Watch our video instructions!! It may sound obvious but results from a recent study show that 96.7% of ladies who followed our exact instructions had a full extra week of wear from their wraps.
The shine & oils on your nail plate are the exact thing which stops the gel wraps from gripping and lasting long.
Following correct prep ensures that the longevity of the gel wraps.
When trimming and filing the wrap the length of the wrap must be EXACTLY the same length as the nail plate, 1mm too long or short will result in lifting.
Applying your wraps before bed ensures the highest success rate as this allows the adhesion to properly activate.

step by step guide
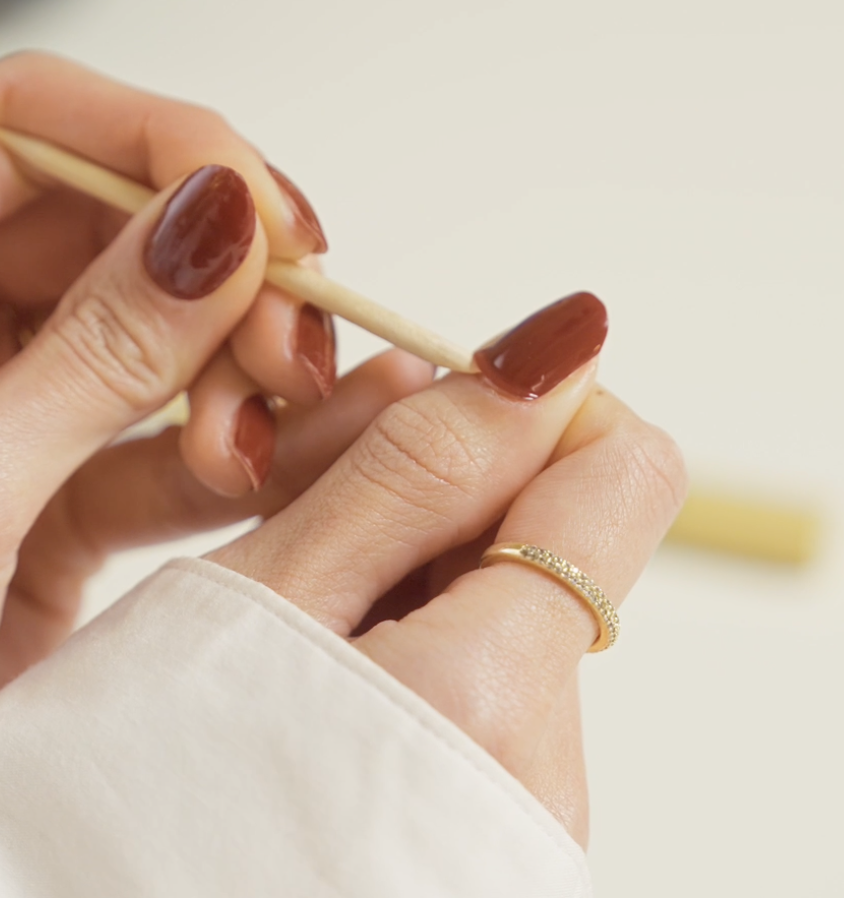
STEP 1: LIFT & LOOSEN
Gently lift one edge of the gel wrap using a wooden cuticle stick. Take your time—slow and steady is best for the cleanest removal.
Apply a few drops of cuticle oil around and under the lifted edge. Let it soak for a few seconds to help loosen the adhesive.
Wash hands, dry thoroughly, and wait 10 minutes before starting.
Gently push back cuticles using the cuticle stick provided.
Lightly buff nail plate until the shine is gone with the nail file.
Wipe each nail with the prep wipe.
Optional: Apply primer after. Do not touch your nails after this step.
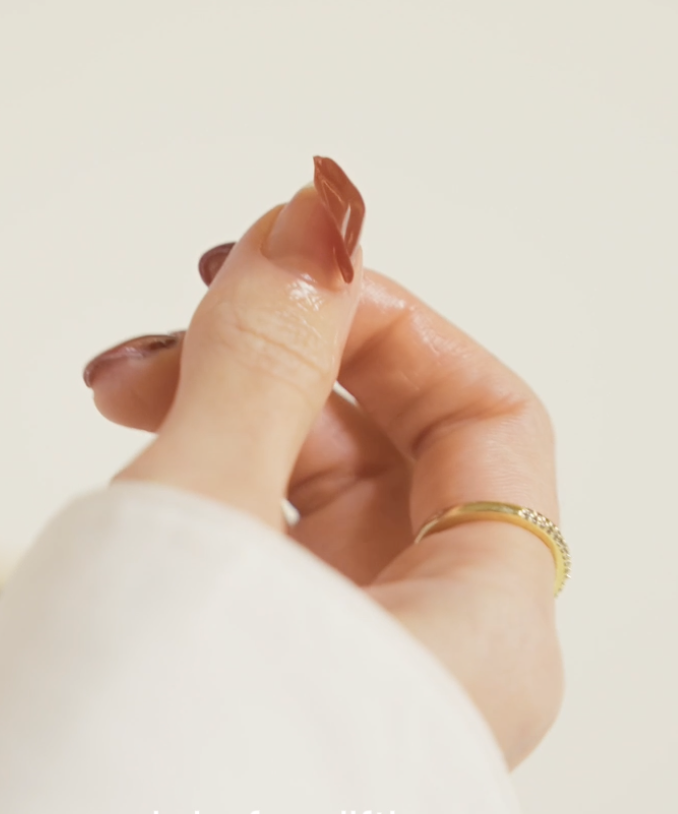
STEP 2: SLIDE & REMOVE
Slide the wooden stick slowly underneath the wrap, moving side to side to lift it off the nail. Add more oil as needed. Avoid peeling or pulling too quickly.
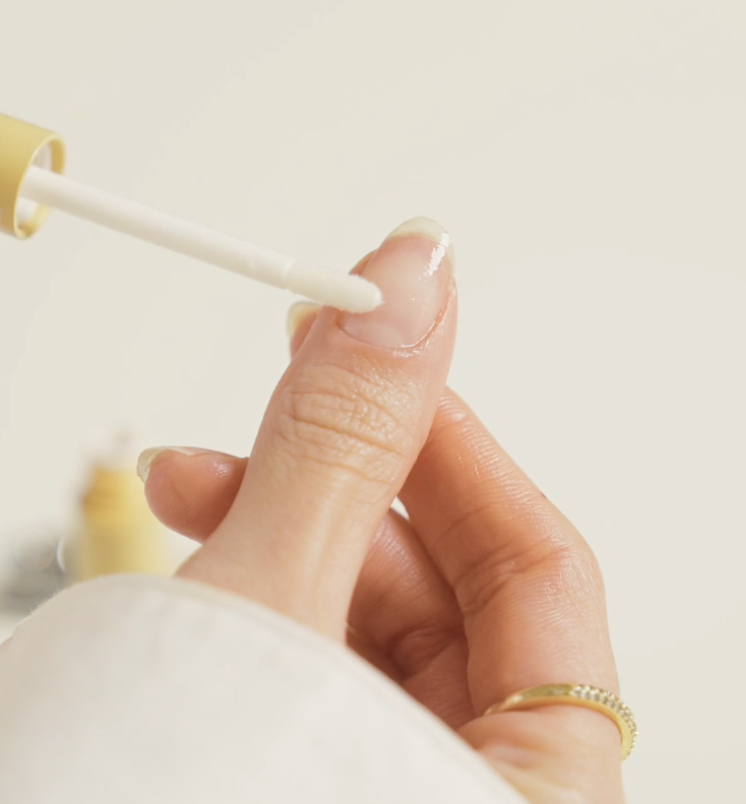
STEP 3: CLEANSE & NOURISH
Once removed, If you're applying a fresh set, wipe your nails with a little Prime It on some paper towel to remove any leftover adhesive.
If you're taking a break, skip the prep and apply cuticle oil to nourish and hydrate your natural nails.
Press and rub firmly back & forth for 15 seconds. Pressure+ friction activates the adhesive for maximum grip.
STEP 4: SHAPE & FILE
Trim away excess wrap with nail scissors or clippers then rub the wrap around the free-edge of your nail.
Use the file to shape the wrap to the nail edge, filing gently in only one direction downwards to prevent lifting.
Heat up gel wrap on your nail with the hair dryer for 10 seconds, then press & rub firmly again for 15 seconds to lock in adhesion.
STEP 5: AFTERCARE
For the first 2-3 hours after application: Avoid water and heavy hand use. Do not shower, clean, or wash dishes. Avoid oils at all times. The adhesive continues to bond for hours after application. Keeping nails dry allows it to fully set, preventing early lifting.

FREE SHIPPING ABOVE £50
Delivered to your door, anywhere in the world, on us!

SASSY SUPPORT
Reliable support, anytime you need it.

SECURE PAYMENTS
Shop with confidence, your payment is protected.

SATISFIED CUSTOMERS
Over 300,000 happy customers and counting!

FREE SHIPPING ABOVE £50
Delivered to your door, anywhere in the world, on us!

SASSY SUPPORT
Reliable support, anytime you need it.

SECURE PAYMENTS
Shop with confidence, your payment is protected.

SATISFIED CUSTOMERS
Over 300,000 happy customers and counting!