OTHER SALON KITS


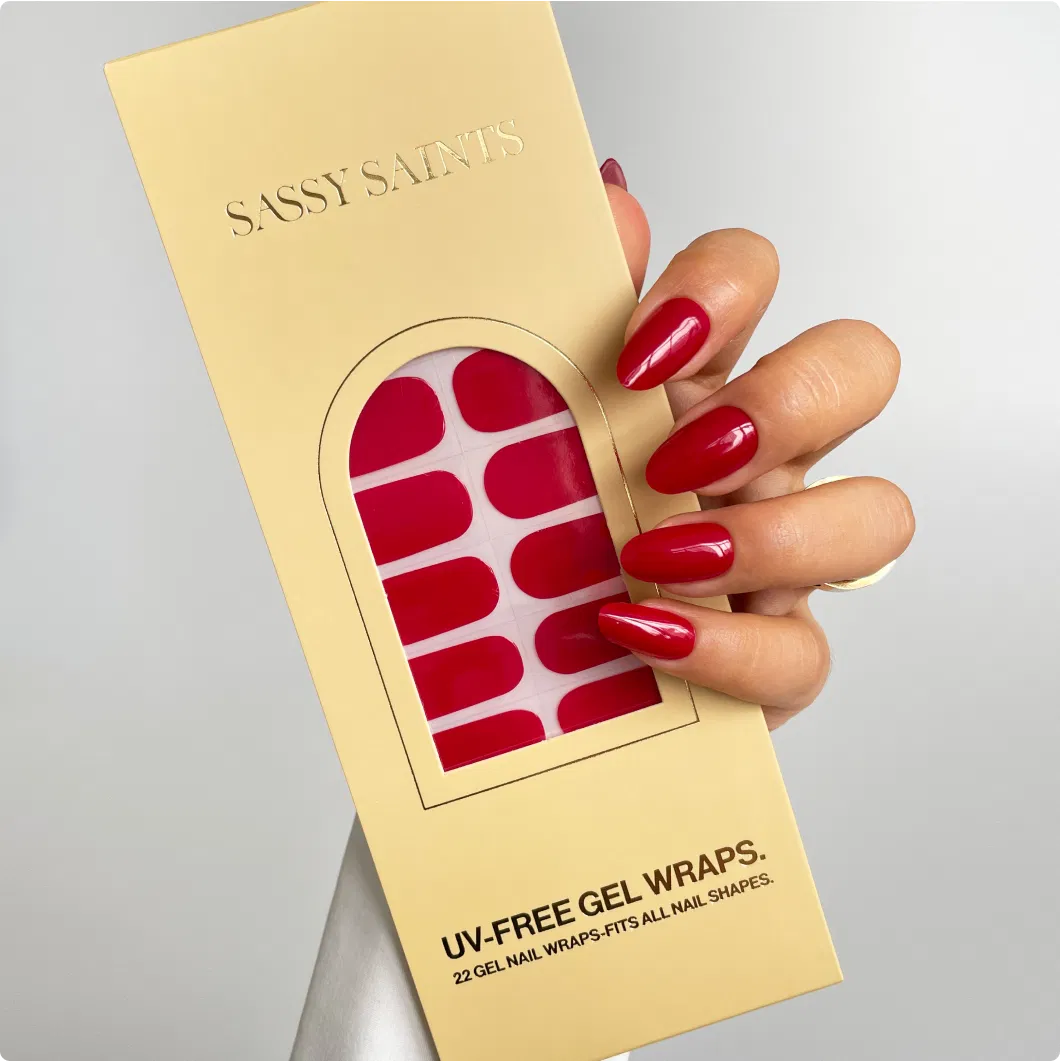
YOUR SASSY SAINTS GEL WRAP HELP SHEET.
We’ve put together this quick guide as a helping hand to make sure you get the very best from your Sassy Saints UV-free gel wraps. Whether it’s your first time using them or you’ve already fallen in love, this sheet is here to keep things simple.
Inside, you’ll find easy tips for prep, application, and little tricks to help your wraps last the full two weeks (or more!). No fuss, no confusion—just a few helpful pointers to make your at-home mani look and feel like a salon finish.
We’ve got you—let’s make your nails look amazing.


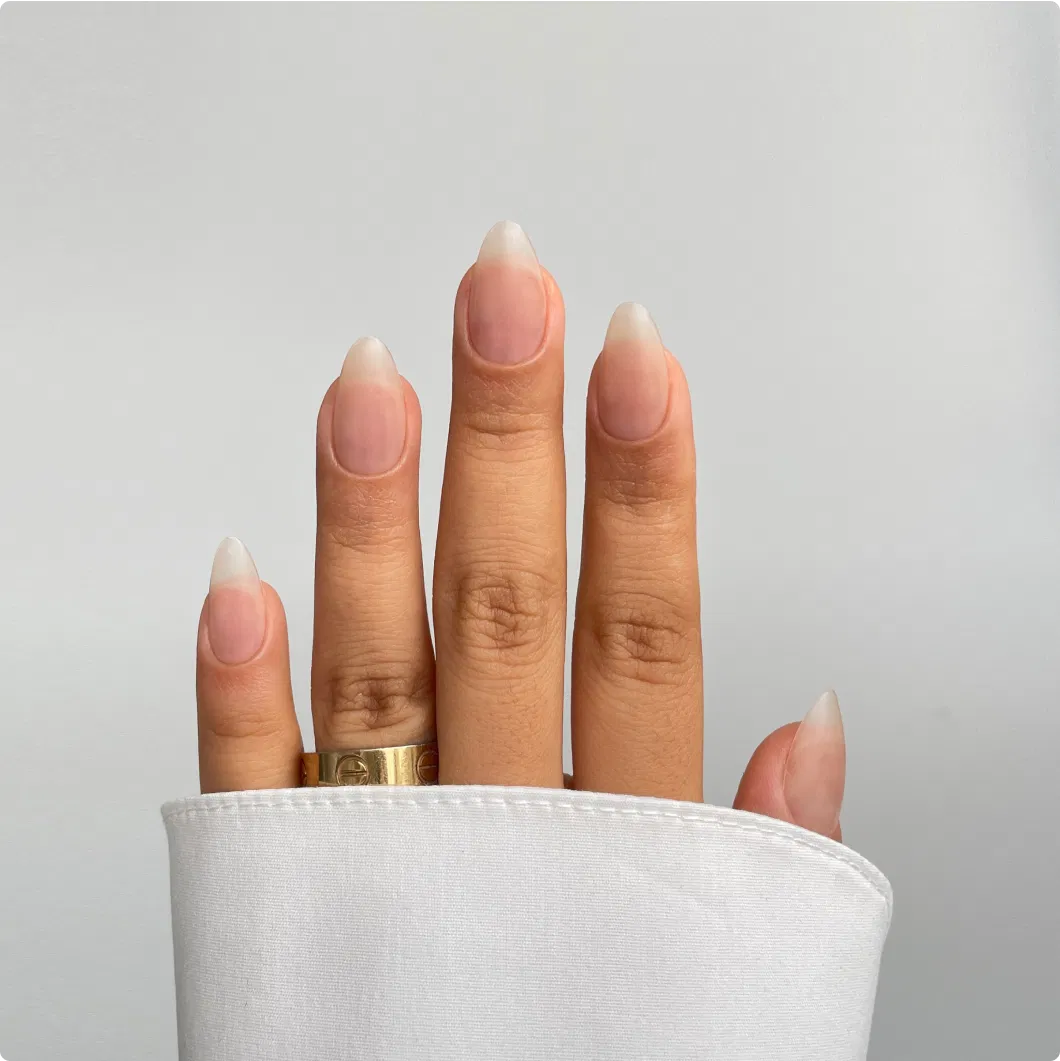
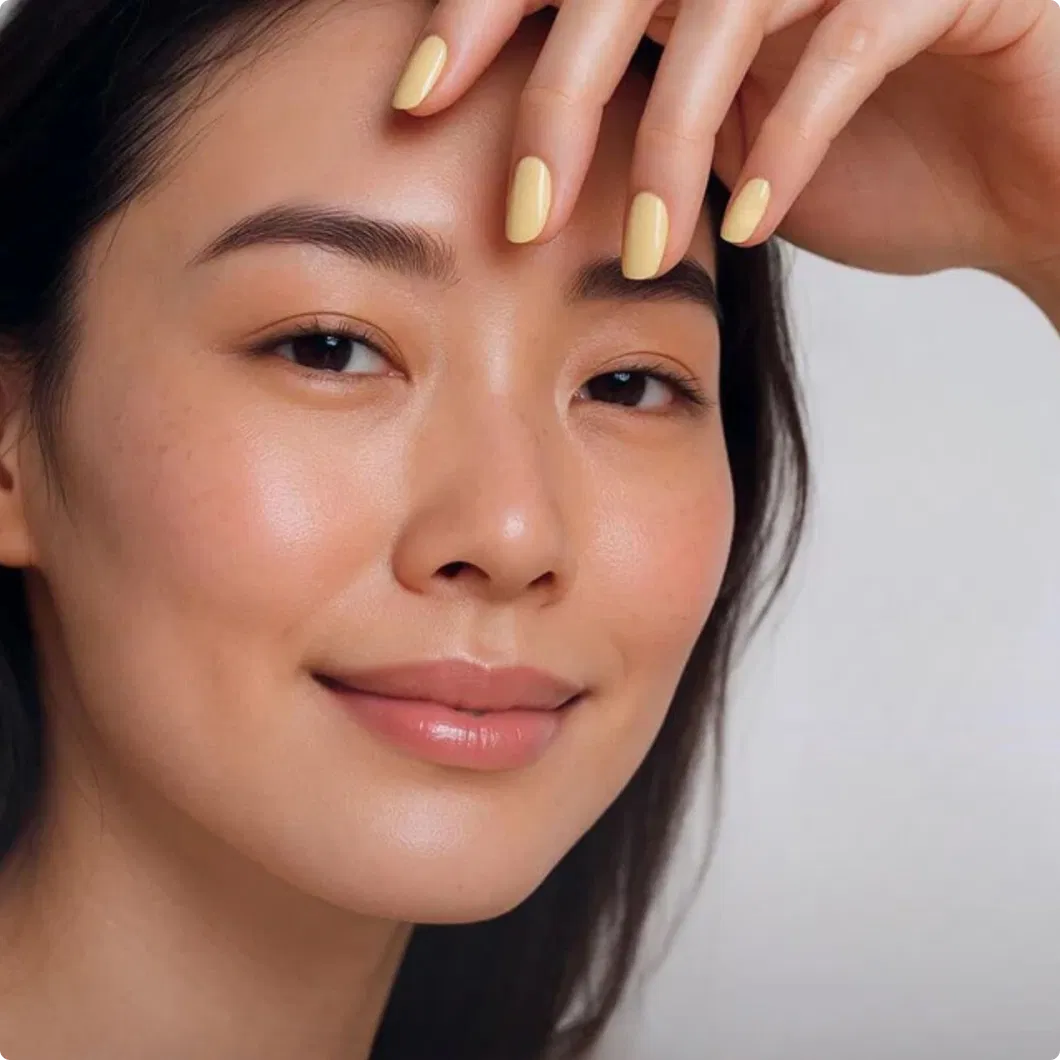
KNOW YOUR NAILS.
Understanding your nail anatomy helps you get longer wear from gel wraps and keep your natural nails healthy.
The nail plate is the hard, flat part of your nail—the part you see and apply wraps to. It's made of keratin, like your hair, and grows from under the skin at the base of your nail.
Push back your cuticles gently before applying wraps.
File the free edge straight across to help wraps seal properly.
Avoid over-buffing natural nails—it can weaken them.
Keep nails clean and dry before application.
Prep Is Essential.
Before you even touch your gel wraps, prep is the most important step in making them last. It might feel like a chore, but trust us - skipping it is the fastest way to end up with lifting, peeling, or wraps that don’t last the full 2 weeks.
Proper prep creates a clean, dry surface for your wrap to bond with. The better your prep, the longer your wraps stay on—and the more flawless they look.
Use a nail file to shape your nails how you want. Smooth the free edge to prevent lifting later.
Using your wooden cuticle stick, gently push back the cuticle. This exposes the full nail plate so your wrap can lie flat and not lift at the base.
Next, take the nail file and lightly etch the surface of each nail to remove any shine - this helps the wraps grip better. If you have naturally oily nail beds, we recommend applying our Prime It at this stage to boost adhesion and ensure longer-lasting results.
Applying wraps to oily, damp, or shiny nails.
Using cuticle oil or hand cream before applying.
Over-buffing, especially if your nails are thin.
Skipping cuticle care (wraps won’t stick to skin).
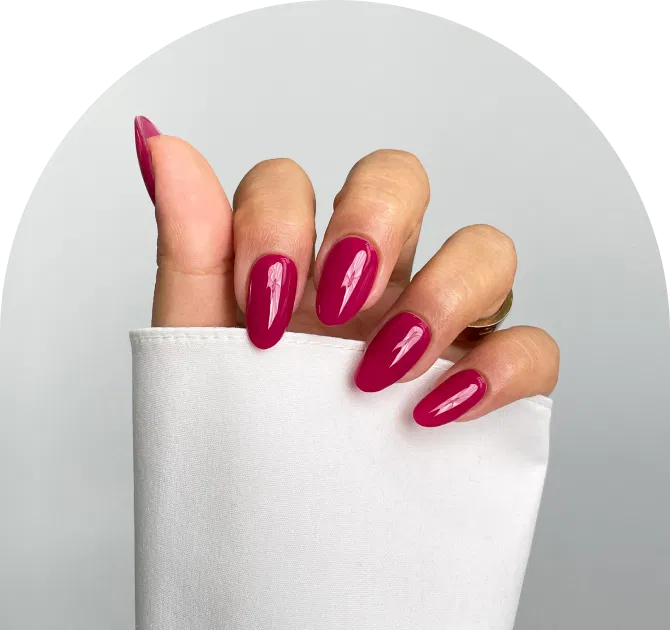
Application – How to Apply Your UV-Free Gel Nail Wraps.
Following our 3 simples steps the process couldn't be easier or more beginner friendly!
Ensure your hands are clean and dry and preferably avoid hand washing for 1 hour prior to application. Start by gently pushing back your cuticles using the wooden cuticle stick provided. Next, take the nail file and lightly etch the surface of each nail to remove any shine - this helps the wraps grip better. If you have naturally oily nail beds, we recommend applying our Prime It at this stage to boost adhesion and ensure longer-lasting results.
Select the gel wrap size that best matches your nail. If you're in between sizes, always choose the slightly smaller one for the most natural look. The wraps can be stretched to fit your nail size very easily. Gently lift the wrap from the backing using your wooden cuticle stick - only touch the very tip which won’t be applied to your nails to preserve its stickiness.
Apply the wrap just above the cuticle line, avoiding contact with the skin. Press it down firmly, starting from the center and smoothing outward—first using the flat side of your cuticle pusher, then your finger—to eliminate air bubbles and ensure a flawless, sealed finish.
Using the scissors, trim away the excess length of the wrap, once trimmed, press down firmly rubbing the wrap to ensure the edge of the nail is well adhered. Next using the nail file, gently file the under edge to ensure there is no excess wrap left, it’s important to do this in one direction, filing back and forth can disturb the adhesion of the wrap. To finish, again press the wrap down firmly to ensure there are no edges which aren’t sealed.
Troubleshooting Wrap Application.
We've done the hard part for you and thought of any issues that may occur and how to fix them quickly and efficiently.
Wrap lifts at the base:
You may have applied it too close to or on the cuticle.
Fix: Always leave a small gap and press down firmly.
Air bubbles appear after pressing:
They might’ve been trapped during placement.
Fix: Gently lift and reapply before filing. Press again from center outward.
Wrap not sticking well:
Your nail may have had oil, cream, or moisture.
Fix: Go back and double-cleanse the nail with alcohol or nail dehydrator.
Edges start to peel:
This usually happens if you didn’t seal the free edge properly.
Fix: Re-file and apply a top coat to reinforce.
What to Do If You’re In Between Sizes:
Always go for the wrap that’s a bit smaller than your nail.
If the wrap is slightly too wide, use cuticle scissors or a nail file to gently trim the sides.
Never stretch the wrap too much—a light stretch is fine, but over-stretching can cause lifting or wrinkling.
Once your wrap is on, always check the edges.
Smooth them down firmly, especially around the curve of your nail, and ensure there’s no overhang onto the skin.
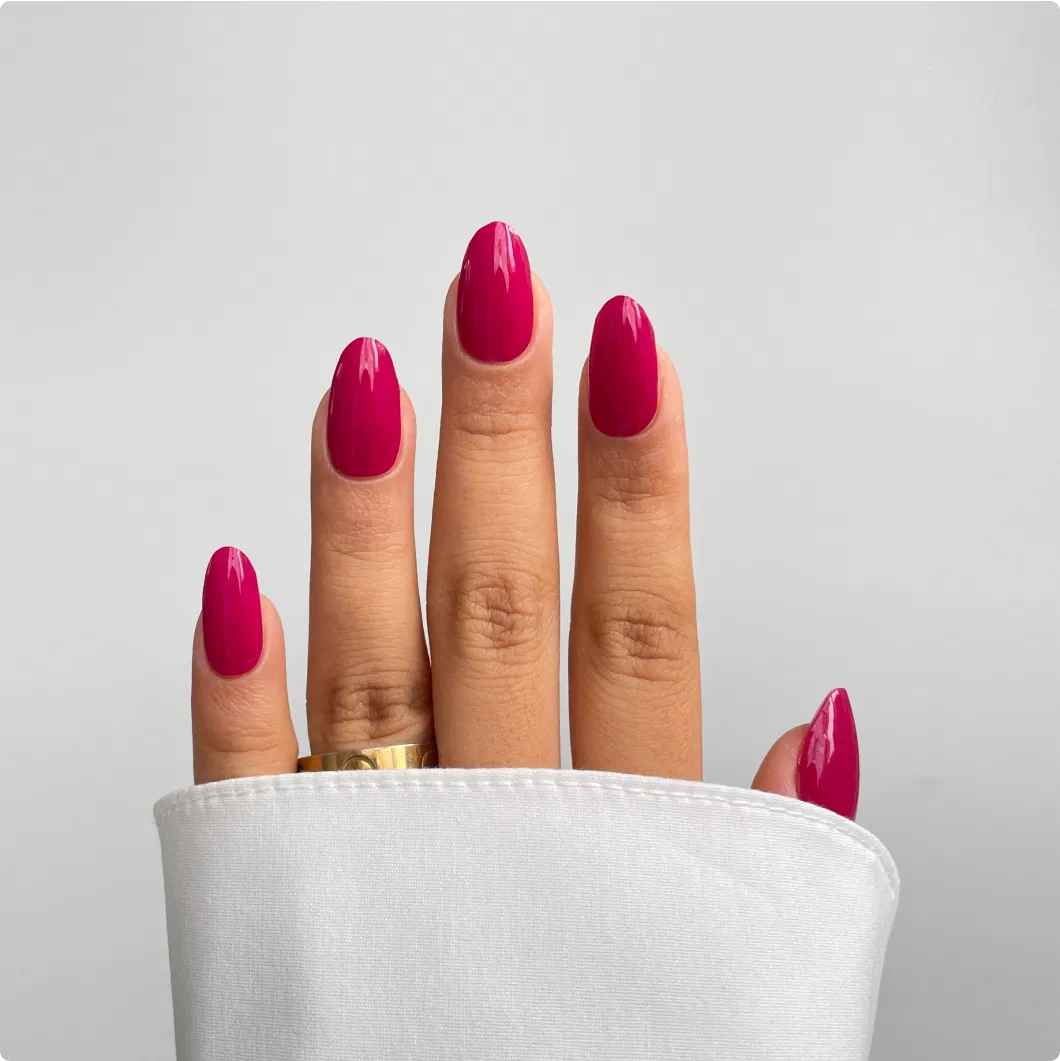
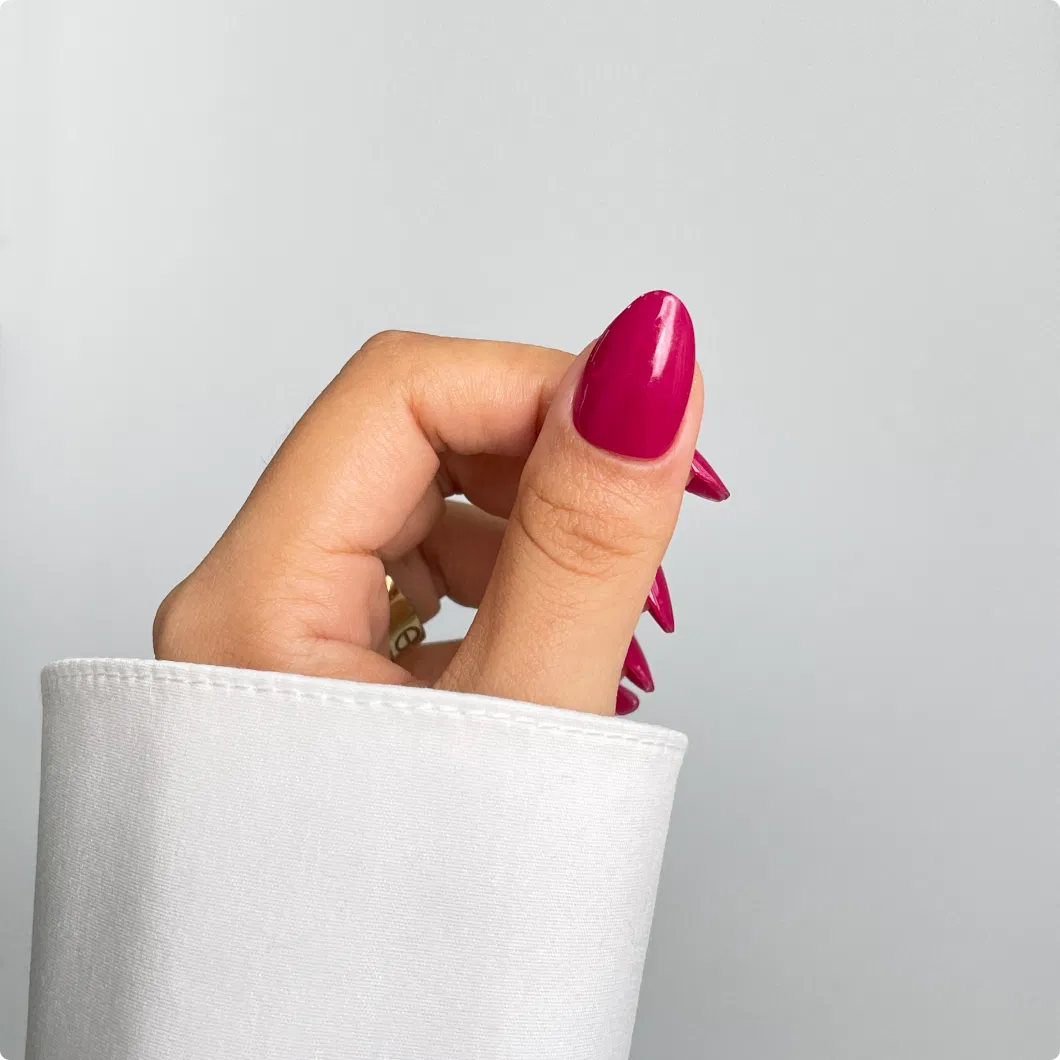
Getting the most out of your Gel Wraps.
To get the absolute best wear out of your UV-free gel wraps, a little extra care goes a long way. We always recommend wearing gloves when washing dishes, cleaning, or doing any tasks that involve prolonged water exposure—this helps protect the adhesive bond and prevents early lifting.
It's also important to avoid excessive use of oil-based products, especially around the nail area, as they can break down the wrap’s seal over time. Instead, opt for water-based hand creams when possible.
And finally, be gentle with your nails—treat them like jewels, not tools! With these small habits in place, you’ll enjoy a flawless, chip-free manicure that lasts the full two weeks.
Applying Gel wraps over enhancements.
Yes—you can use your Sassy Saints gel wraps over extensions created with our dip powder method! This is a great way to add length and design in one flawless finish. Here's how to do it:
Start by building your extensions using the Sassy Saints dip powder system as you normally would. Apply your extension followed by base, dip into the clear consciousness or vitamin base poweder, and repeat as needed to build your desired length and shape. Once your structure is solid and fully cured (with activate, move on to refining the shape.
Use the smooth side of the file to gently smooth the surface of your extensions. You want a flawless, even base for your wraps to adhere to—this step is key for longevity and a natural finish.
Wipe over each nail with primer or a lint-free pad soaked in acetone to ensure the surface is completely clean and free of any oils or debris.
Choose the right size for each nail and apply the gel wrap just as you would on natural nails—pressing it down from the center and smoothing outward to avoid air bubbles. Use the flat side of a cuticle pusher to press the edges down tightly, followed by firm pressure with your fingertip to lock it in place.
Trim any excess wrap and gently file the free edge in a downward motion. Pay close attention to sealing the tip well—this will prevent any early lifting.
Importance of removal and new application.
Cuticle oil is a wonderful product for nourishing and hydrating the nails and to be able to use it for removal is quite frankly, revolutionary—but when it comes to applying your gel wraps, it’s your biggest enemy. Any trace of oil left on the nail surface can act as a barrier between your natural nail and the adhesive on the wrap, preventing it from bonding properly. This can lead to early lifting, peeling at the edges, and significantly shorten the lifespan of your manicure.
That’s why it’s essential to thoroughly cleanse your nails before application. So if you have just removed a set, ensuring all traces of oil are removed before applying your new set is so important! By starting with a clean, dry surface, you’ll give your wraps the best possible chance of lasting the full two weeks—flawless and chip-free.