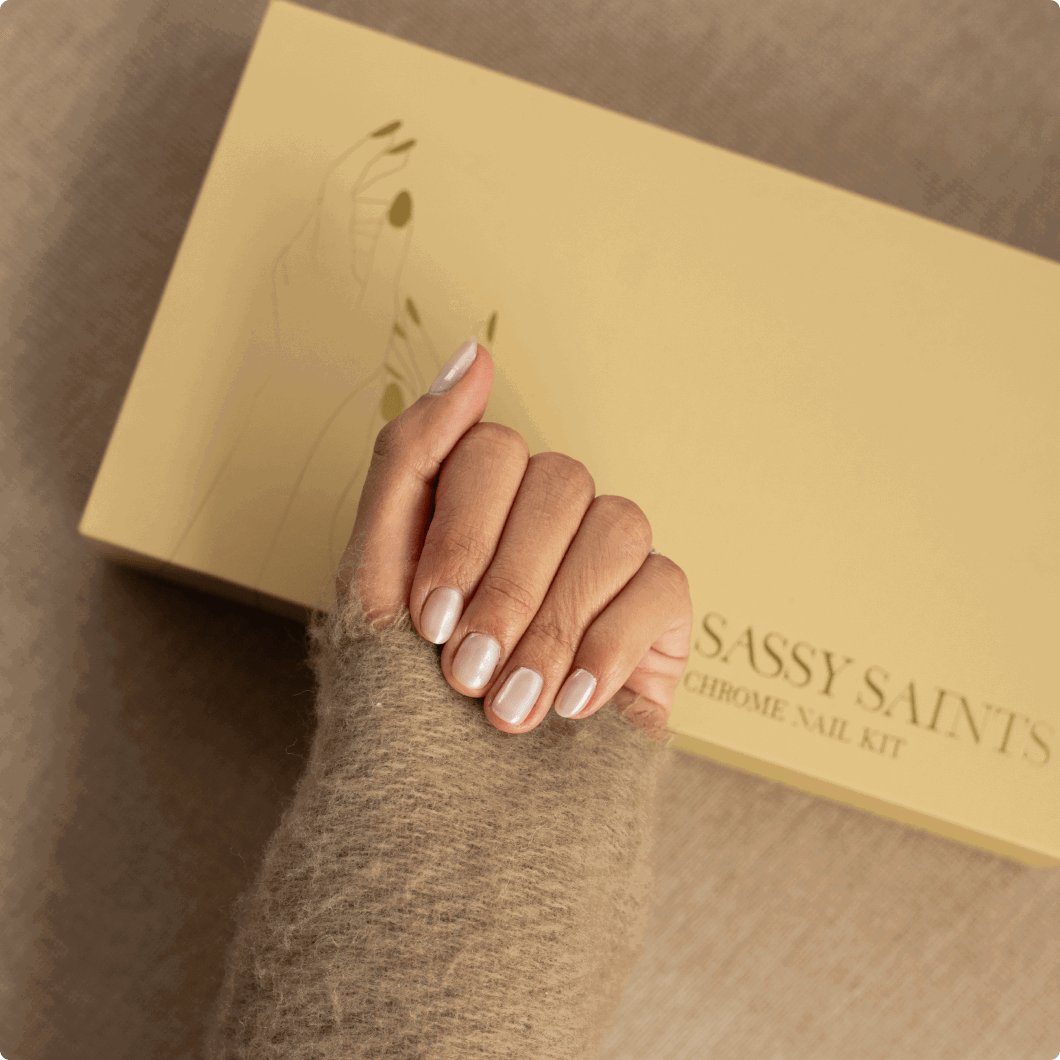
OTHER SALON KITS


PRO TIPS AND TRICKS.
Want to take your nail game to the next level? In this guide, we’re sharing pro tips and tricks to help you achieve flawless, long-lasting nails—whether you’re a beginner or a seasoned DIYer. From prep to finish, these insider secrets will have your nails looking salon-fresh every time.


Thick Nails.
Thick nails are not only tricky to wear, they also don’t look the best. If we want to create salon quality nails we must take this into consideration.
Once we have followed all the steps and done 4 x dips and activated we then have to buff, don’t be afraid of filing too much, this stage takes time and precision and the more you practise the quicker you will get, Rome wasn’t built in a day after all!
When buffing we want to make sure we are looking at the nail from all angles, this allows us to see any harsh lines and the thickness levels from different viewpoints. A good tip is to always look directly down the barrel of the nail, this should never look any thicker than a credit card, (approximately 0.03 inches) it's okay for the middle part of the nail to look slightly thicker (apex method) but it should again be nice and thin at the cuticle area and side walls.
Applying thin layers of base coat will help us achieve the perfect overall shape. The more you practise, the less time will be spent on buffing the nails into the perfect shape. Practice makes perfect.
If the product is too thick this is a reason as to why our nails can lift. Achieving the thickness of a credit card can take some time to master but as mentioned previously, the more you play with the products and find different ways you're comfortable with your file the easier it will be.
If you look at your nails down the barrel (looking directly at your nails head on at the free edge) and they look thicker than a credit card it is so important to continue filing. A good tip for when you are filing your dominant hand is, holding the nail file in your non-dominant hand can feel a little alien, never mind trying to master file control! So, keep your non-dominant hand with the file still and move your dominant hand against the file, you will find you have much more control this way and it will speed up your process.
Apart from looking not the best, thick nails can also cause problems on how well your Sassy Saints manicure will last. Because the product is heavy when it is too thick our nails can begin lifting very early on, and in turn this makes it very annoying, especially when you catch your hair under your nails!
Thick, heavy nails are also causing unnecessary stress to your natural nails which in turn leads to damaged nails. Usually a break low down which can be very painful or a snapped nail.
Another problem is that thick nails are wasting products that don't need to be wasted. Some people think thick nails are a comfort blanket to protect your nails and get longer out your manicure, but in fact, it is the opposite.

Brush Hardening.
Are you having problems with your Top It brush hardening? In this guide we will discuss everything you need to know to overcome this problem, why it happens and what to do if you find this is happening to you.
There are a few reasons why this can happen, the most common one is when activate mixes with Top It. Remember activate is the liquid that hardens your powders so it’s main power is to make things go hard. Once activate has been applied you must wait two minutes and then wash your hands very well with lukewarm water, this removes the remaining residue from activate meaning there is no cross contamination of the products. However it is absolutely vital that you dry your hands really well, getting into the cuticle and side walls using a paper towel to remove any water droplets as water can also cause the top it to solidify.
Another reason for Top it to go hard is if it is left in the air for too long, so whilst we want you to apply this product carefully it’s very important to also work quickly as the longer the brush is in the air the more chance there is of it hardening. A good tip is to pop the brush back into the bottle in between every nail, wait 5 seconds and then move onto the next nail. This time allows the brush to collect new liquid in the bottle.
As soon as you feel any hardening of the brush, stop what you're doing. This will only continue to get harder from this point on meaning every nail you top coat from here on out will be more difficult to create a smooth finish. Pop the brush that has gone hard into No4 Clean It (for 24 hours, putting it into clean it for 5 minutes isn’t enough and the brush will still go hard, No4 Clean It needs time to work and soften the bristles and remove the contaminated product) next grab your spare brush (remember you have 3 brushes in total that you can use, your top it brush, your spare brush and also the brush that is in No4 Clean It) You can now continue with your new brush without any problems.
Remember to make sure that after EACH nail you apply Top It too you should wipe the brush on a dry paper towel and put it back into the bottle before going onto the next nail. This ensures that no cross contamination is happening to the liquid inside the bottle as well as keeping the brush soft.
When using the spare brush from No4 Clean it, wipe the brush on a bit of paper towel to dry off the No4 Solution before putting it into your Top It.
Yes! After you have completed your manicure and your brush hasn’t hardened we always advise swapping it into No4 Clean it and leaving it to do its job for 24 hours. This keeps your brushes in the best condition and ensures your liquids aren’t being contaminated during storage. A common reason for liquids turning thick and gloopy is because the brush that has sat in the liquid for the last 3 weeks has been contaminated and in turn spoils the liquid.
This is because your liquids have been cross contaminated from the last time you used them. If activate gets into your Top It bottle this can damage the liquid and your brush. This is why it is very important to clean your brushes after every use as sadly when this happens there is no saving your Top It and you will need to replace it with a new bottle.
Neat Application.
A neat application of product is when there is no product touching any cuticle, side walls or skin. The finish looks sharp and professional with no excess product anywhere but the nail plate itself.
Not only does it look much nicer it also is what makes our manicures last along with perfect preparation. If there is any product touching cuticle, side walls or skin this will lead to the product lifting very prematurely, you can also experience cracks and chipping.
Firstly before you even remove the brush from the bottle, ensure that you are swirling the brush head into the neck of the bottle, this removes a good quantity of product from your brush. If you have too much product on your brush this makes it very hard to work with and will often mean you flood your cuticles with Base It.
When you're holding the brush, using your pinky from the same hand, balance your pinky finger on the side of your palm on the hand you wish to paint, this allows you to have balance and control of the brush and stops your hand from shaking. To do this you must have the hand that you are painting facing you in a claw-like motion, if your hand that you wish to paint is sitting on a surface this makes it very difficult to not only see the entire nail but to also have a controlled brush application.
When the brush touches the nail you want to lay on slowly, a good tip is to touch the brush in the middle of the nail and slowly push it back to the cuticle making sure you don’t touch the skin or cuticle.
If you have very small nails you will find doing this in two strokes covers the majority of your nail whilst others with bigger nails will find 3-4 strokes adequate.
If any Base It touches your cuticle or side walls at this stage, use your cuticle tool on the sharper end to remove that product.

How To Use Your Nail File Correctly.
Before starting to do your own nails I bet you didn’t ever think that you would ever be reading an information guide on a nail file, right?! How could there possibly be much to know?! Well there is! And learning how to use your nail file correctly is a huge part of perfecting your Sassy Saints manicure!
The file included in your nail manicure kit is a 60/150 grit file. The lower the number the harsher the grit, the higher the number the softer the grit. So the softer side of your nail file is 150 and the harsher side is 60. The 150 (softer) side is used for nail prep and the 60 (harsher) can be used for removal, to file off the bulk of the product before you soak your nails. However this is only once you feel comfortable with your file, and using the 150 side to remove until you feel confident is perfectly fine. All it means is that it may take a little more time, but we’d much rather that, than you catch your skin and cuticles with the 60 grit (ouch!!).
Before you begin your manicure, a good tip is to remove the sharpness from the very edges of your nail file, these sharp edges can slice your skin very easily if you're not used to holding and angling a nail file. To remove the sharp edge simply file the very edge of the file against the grit of another nail file and this will blunt the edges - your file isn’t in any way less capable when you do this as remember when filing the nails we use the large flat area of the file and not the edge.
When it comes to prepping your nail plate, we use the softer (150) side of the file to very GENTLY buff the nail surface and remove the shine and oils, when doing this it’s important to use a swipe or swoosh motion (from one side of the nail plate, across to the other), never circles. Buffing in circles is so damaging to the nail plate as you are only able to focus on one area at a time and therefore there is a huge risk that you over file the natural nail and cause damage. When doing your swiping or swooshing motion constantly move the file so that it is always touching a new area of nail plate, pause often and assess your work, see where is still shiny and go in and swipe the file along this area, ensuring that you get right into the side walls and cuticles, you will want to turn your hand often to different view points to assess how your progress is going. Remember and be gentle around the cuticle area as this skin is delicate and even though you have blunt your edges of the file there is still a risk of cutting yourself.
The advice above applies to filing the product after activate also, swiping/swooshing movements, constantly moving the file and viewing the nail from different angles to see any lumps and bumps and identify where you should file next.
AFTERCARE ADVICE.
After spending time making your nails look simply beautiful it goes without saying that of course you want them to last as long as possible! Here we will go through some tips and tricks to help you get the most out of your gorgeous nails.
Apply cuticle oil daily, preferably just before you go to bed, this allows the nails and skin to fully absorb the oils and for them to work best. Wake up in the morning with glowing beautifully soft skin.
Wear gloves when completing household chores. Many cleaning products contain harsh chemicals which can not only irritate your skin but also cause your nails to look dull and sad. Popping on your marigolds will ensure you get your chores done but protect your beautiful nails at the same time!
Another instance that you will want to ensure you are wearing gloves is when you are cooking with strong colours and spices, this will stop your nails from staining and keep them fresh for longer.
Nails are jewels not tools!! I know, sounds cheesy right? But it’s SO true! Opening cans of juice with your nails is applying unnecessary pressure to the weak part of your nail, and 9 times out of 10 it will cause your nails to chip and crack. So think of anything you use your nails for and consider if there is an alternative way to complete the task. For instance when opening a can of juice, grab a spoon and use this to pull up the pull ring .
If you wear your nails long you will want to think about giving them a file down as they grow, this stops nails getting top heavy with product towards the free edge and a nasty split or tear occurring, something that can be extremely painful. Your file doesn’t need to be extreme, but a tidy up will keep them looking nice and feeling manageable. You can also use this chance to lightly buff the top it, activate (remember to wash and dry your hands properly!) and reapply a new top it to make your nails look almost brand new (minus the growth at the cuticle area) .
Remove your nails correctly, never pick or peel your nail product off, the extent of the damage this causes is crazy! Doing this once may seem as though little damage has occurred but believe me it may not be visible but it will show in your nail health, they will feel flimsy and weak, and may even be painful. Using our Sassy Saints removal process is super effective and doesn’t take long at all when following our advice, 5-8 minutes per hand in fact!